Using VST fx in Wavosaur is pretty simple, although it does seem like a bit more work than other Audio Editors.
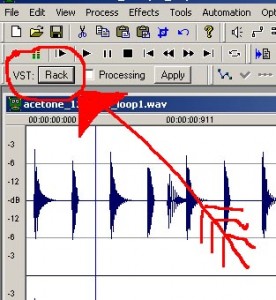
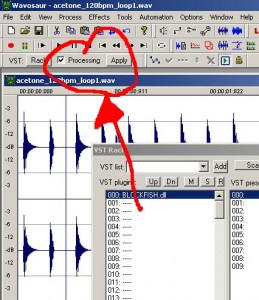
Find VST: Rack and click the button,
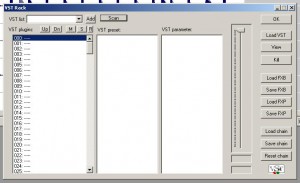
You’ve now got the screen below,
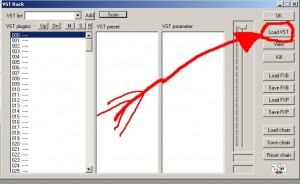
Here we can load our vst.
If you’ve got this far and you don’t know where your VST folder is then have a look in either:
C:VST Plugins
C:program filessteinbergvst plugins
C:program filesvst plugins
If you can’t find it in any of those then you’ll need to do a search.
Once you’ve located your VST – (it’s usually a .dll file) – click on it to load.
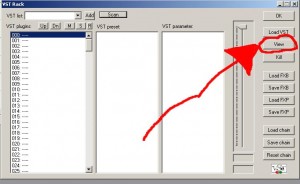
You need to do 2 things now, to view VST click view shown in picture below,
In the picture below you can see a box with a tick in it next to the word ‘Processing‘
Make sure that box is ticked, now when you change any parameters on your VST effect you’ll here it applied to the file.
To commit the effect click the ‘Apply‘ button.
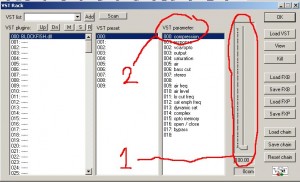
VST Fx can be controlled without seeing the GUI.
You can control them within the VST Rack Box:
1. The Slider circled controls the level of the parameter.
2. Choose the parameter to be altered.
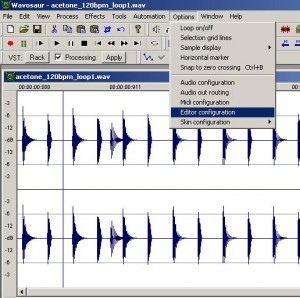
Finally to scan all your VSTs you need to change the path.
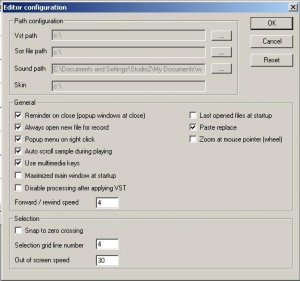
Goto Options – Editor configuration
Change the Vst path to wherever your VST effects are.
A search or the locations I’ve mentioned before will be needed.
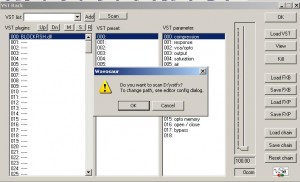
Go back to VST rack and press VST scan,
If you’re sure click ‘OK’ and wait.
If succesful a box will come up saying X plugs detected in x:vstfolder.
Click ok.
VST list dropdown list in VST rack will now be updated with your VSTs.
Have fun.
