Part 1
Using these previous article: tutorials.
- Getting Started with Reaper
- How to Insert A Virtual Instrument in Reaper
- Article On Installing MTPowerKit
- The article below is a starter turtorial, if you want to delve further read: Drum Editor Setup
We want to create a track with MT PowerDrumKit.
Automatically we will have a screen like below present itself.
You can click the skip button at this stage but if you use this software often then please make a donation to the developer. Without programmers like this we don’t get to create.
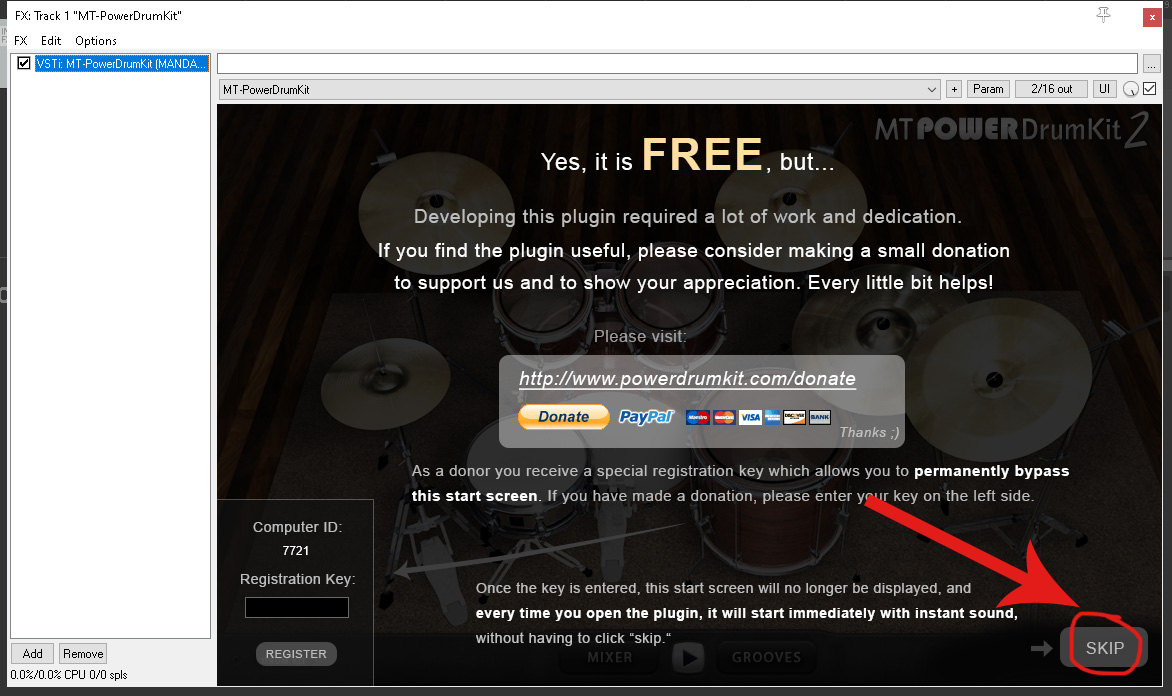
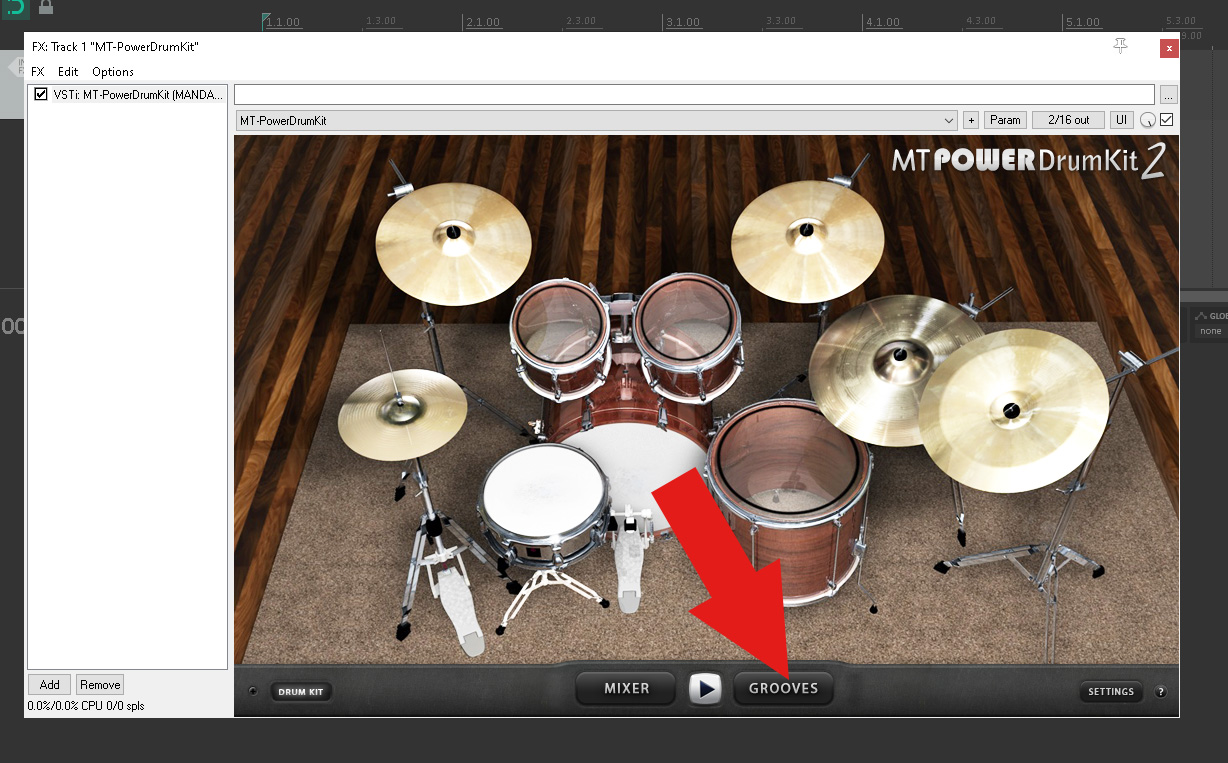
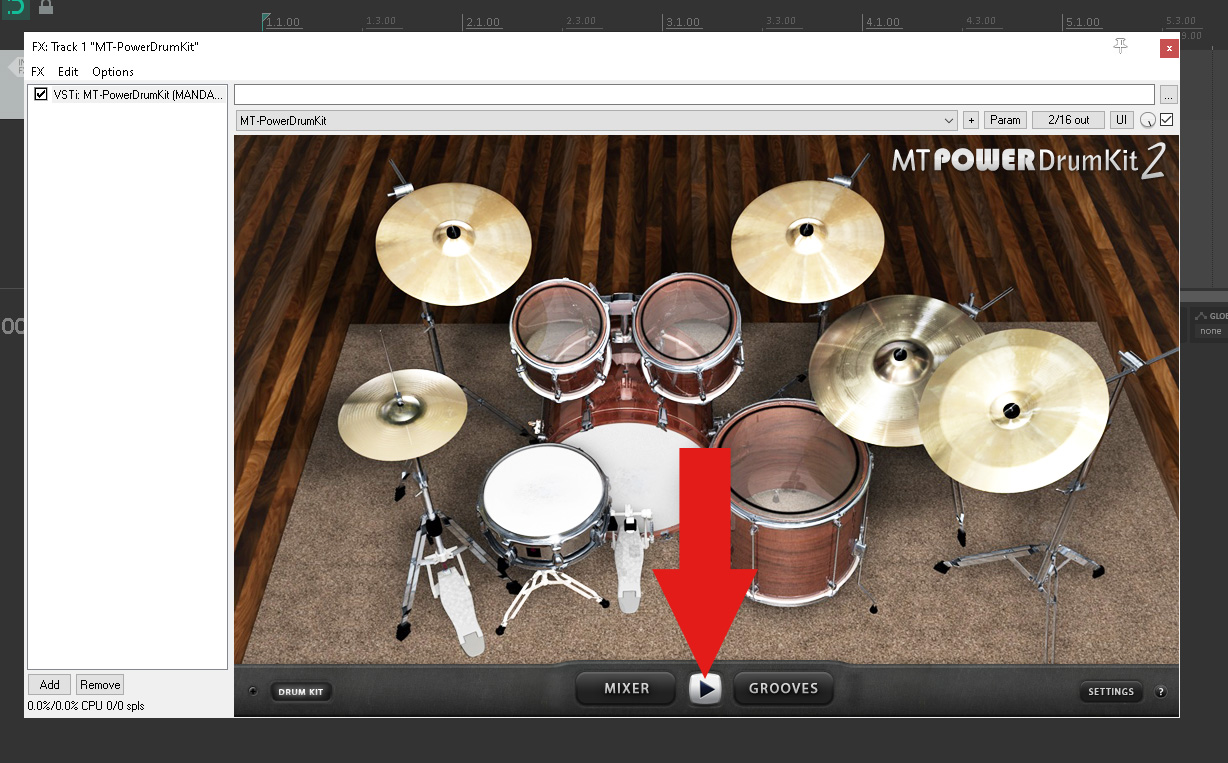
We are presented with a screen that has several buttons – the two to notice are ‘GROOVES’ and the ‘PLAY’ button – these have a use that we don’t need at the moment but will go into in a follow up article.
To carry on Go to Part 2 below.
Part 2
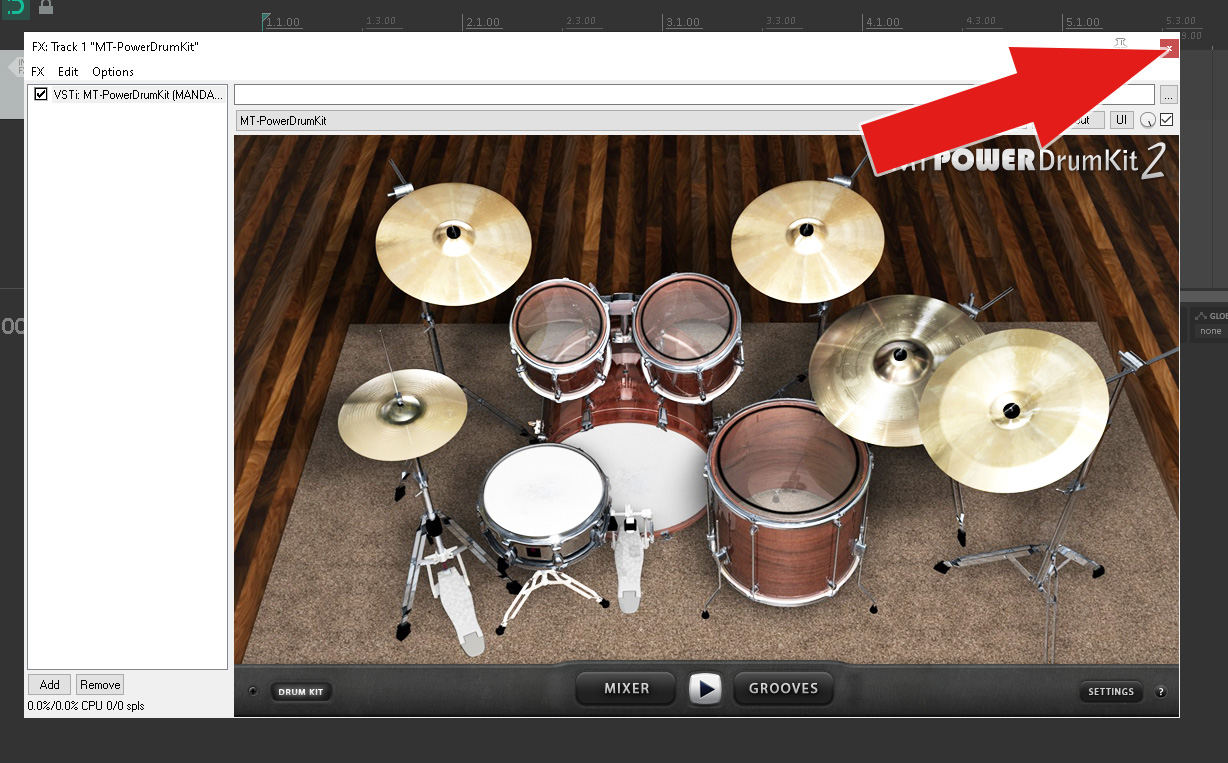
Close Window by clicking the Red X
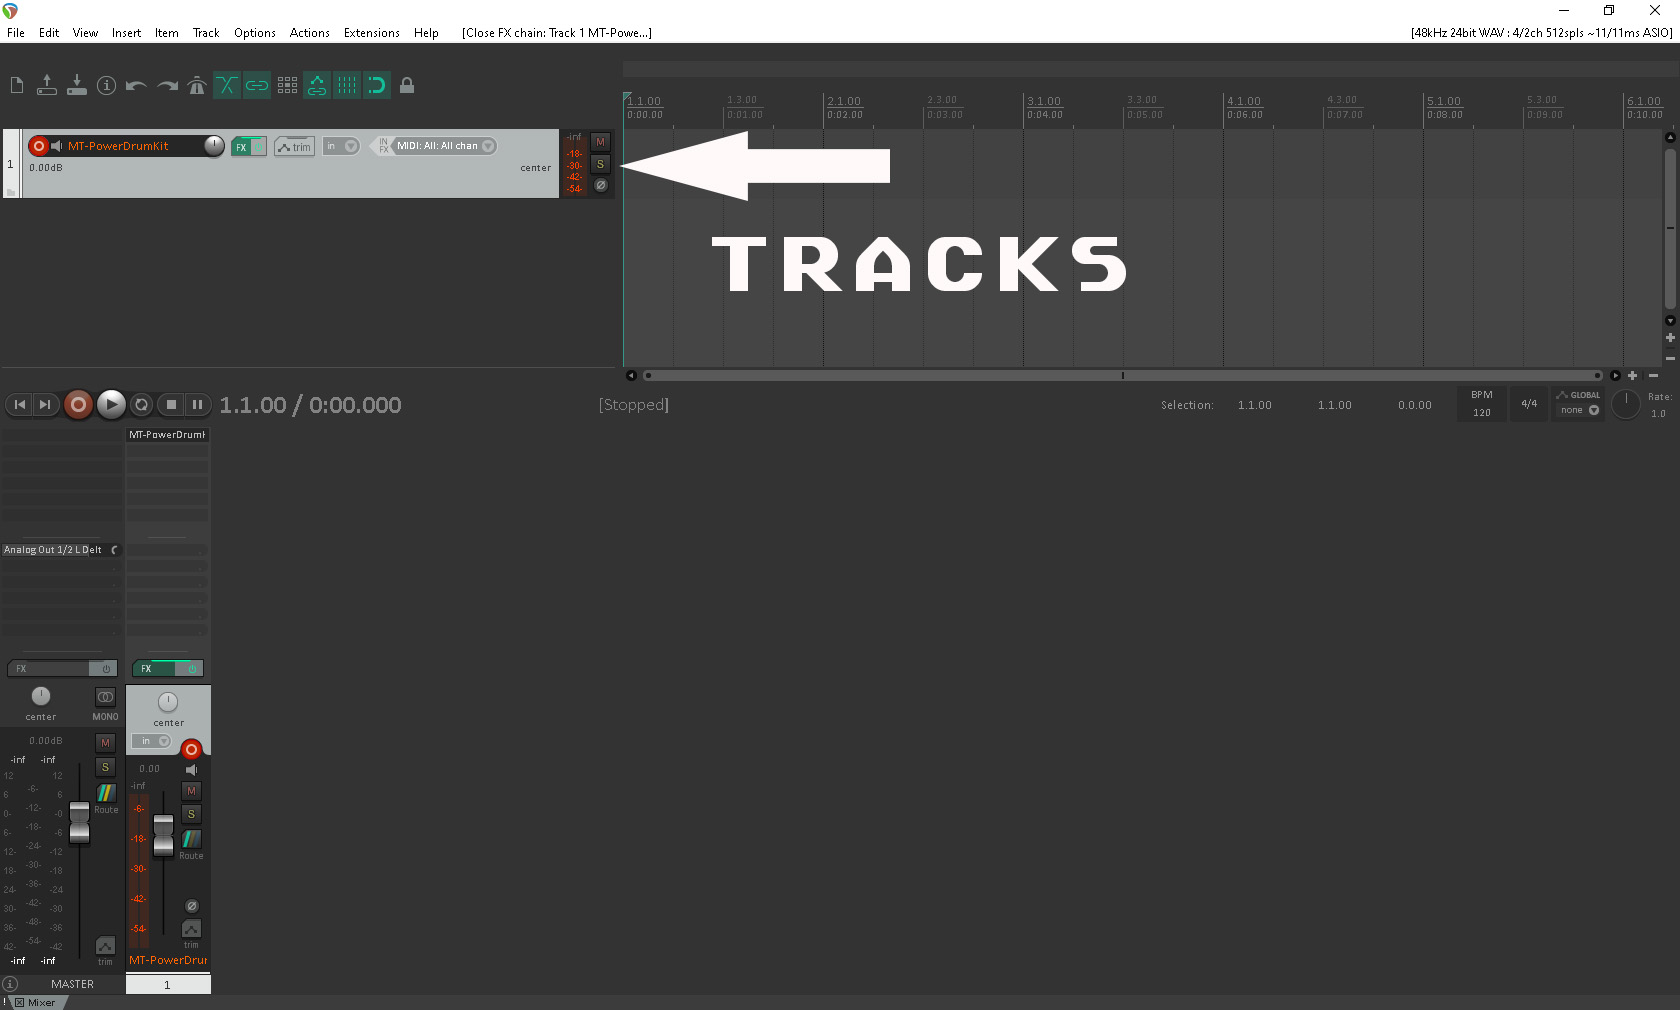
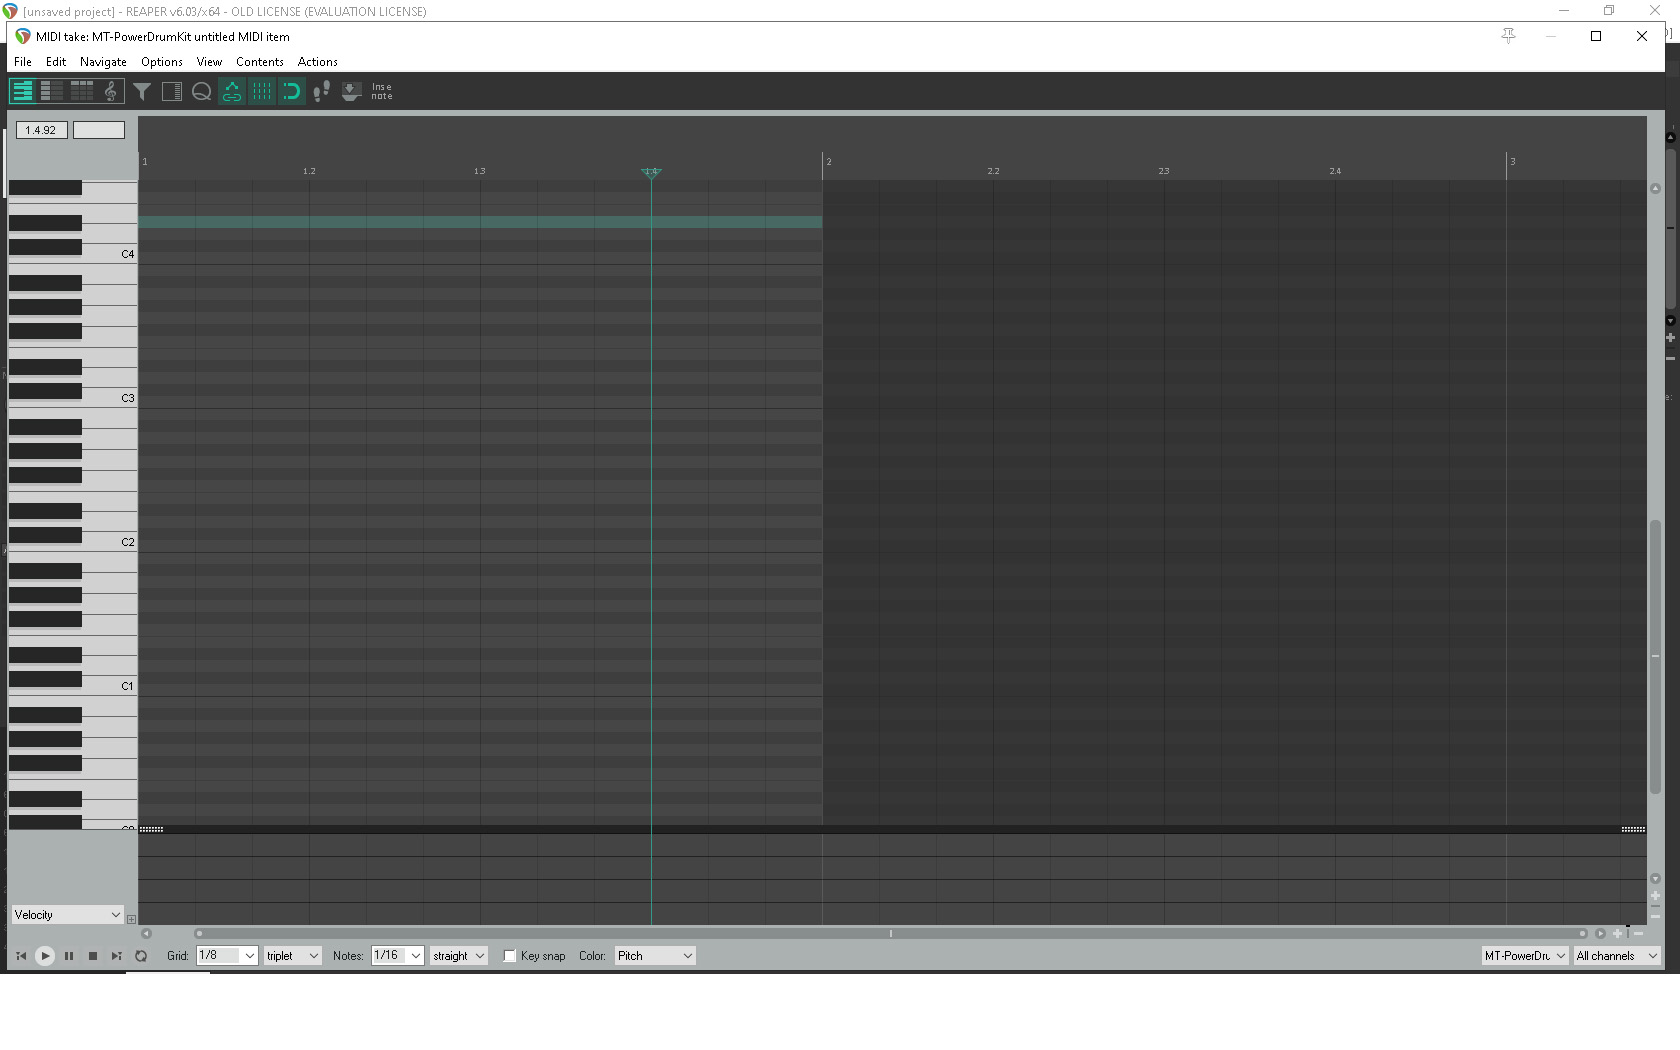
Once you have closed the FX window you should now see a screen like the image below.
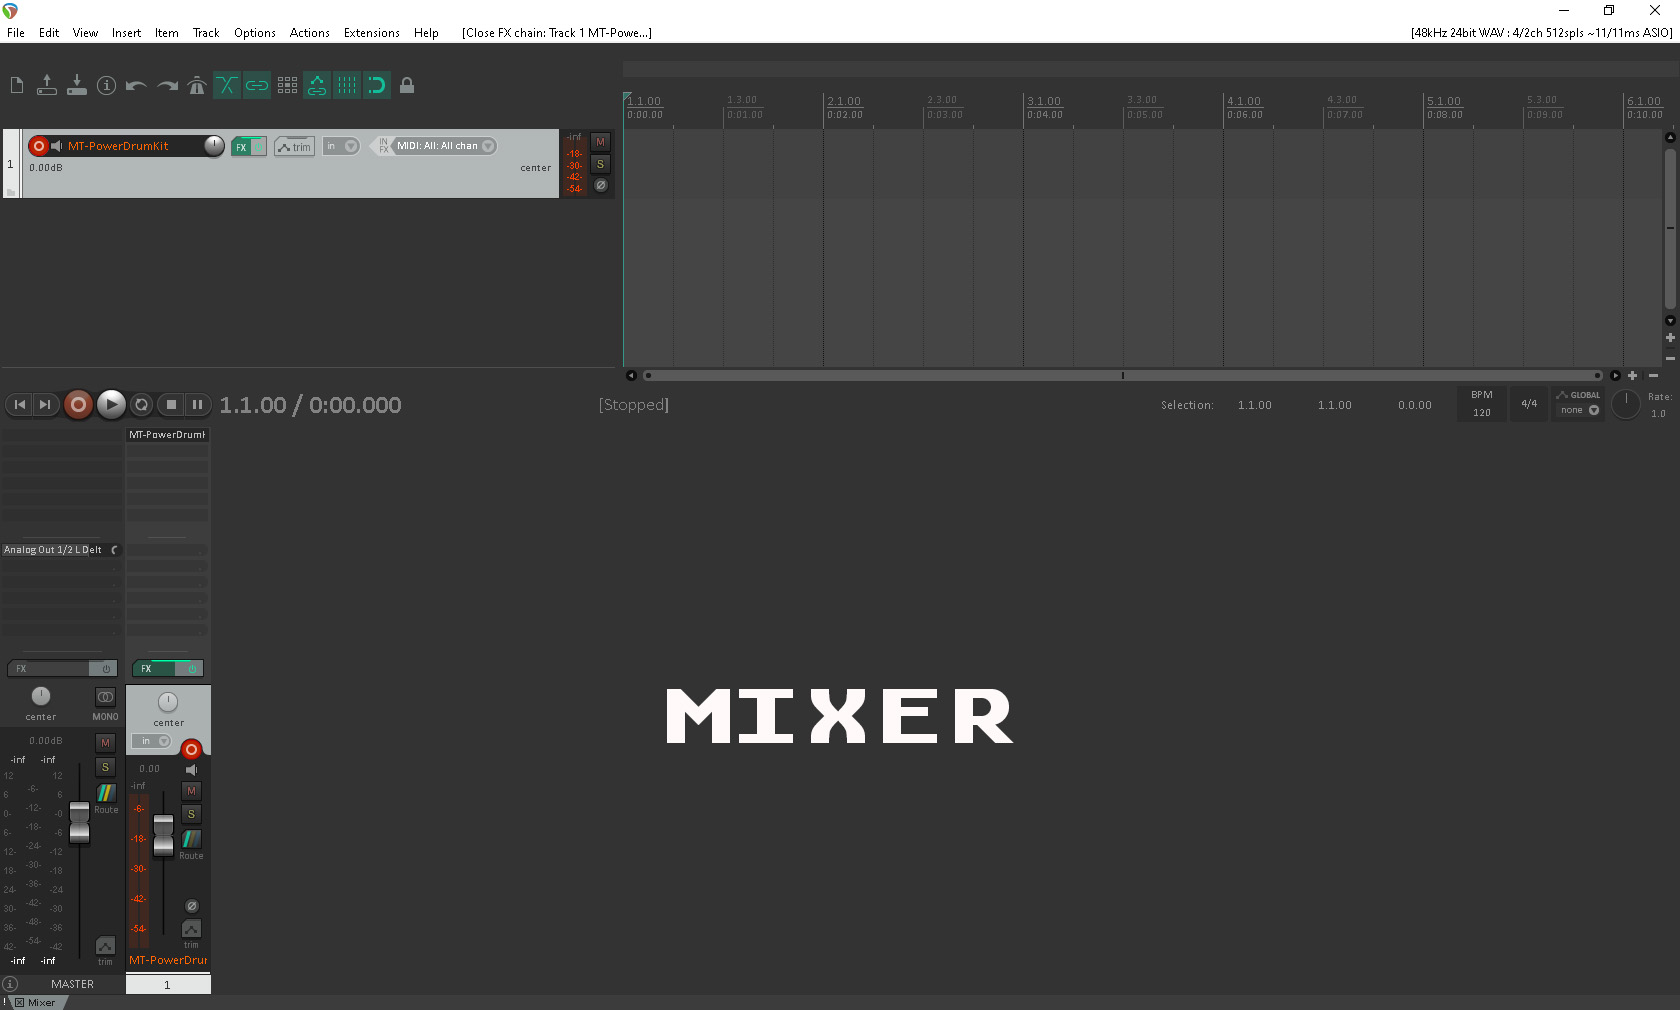
The image above shows the space where our mixer console lives – this can be ‘docked’ or it can be floated to allow us more room for our ‘Track View’ show below.
For the time being we are going to leave our workspace as it is.
Now we have our Drums inserted as a Virtual Instrument Track we can start creating some drums.
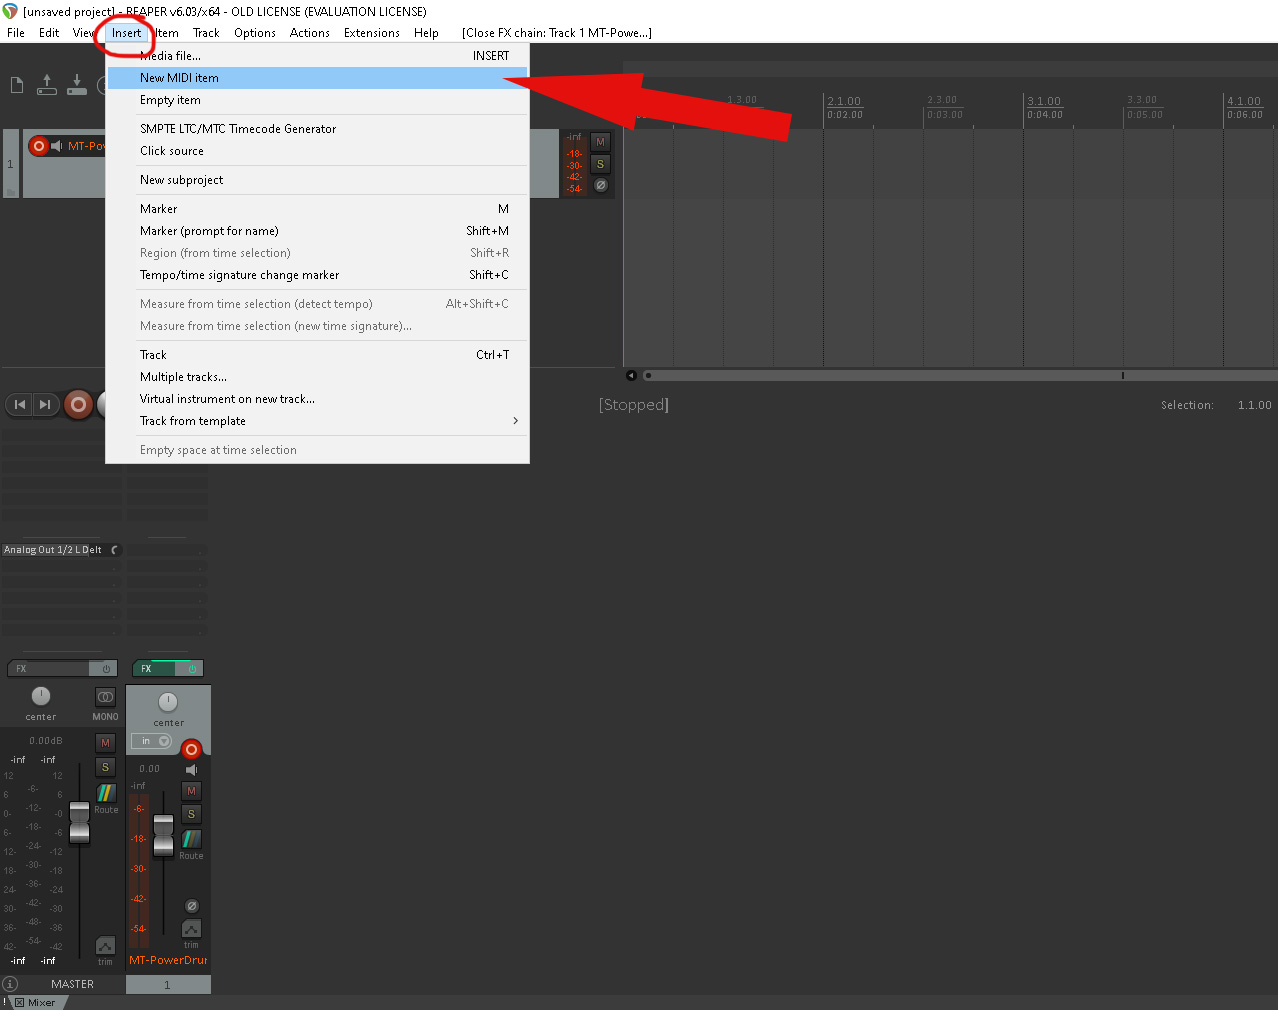
To do this we need to insert a midi item.
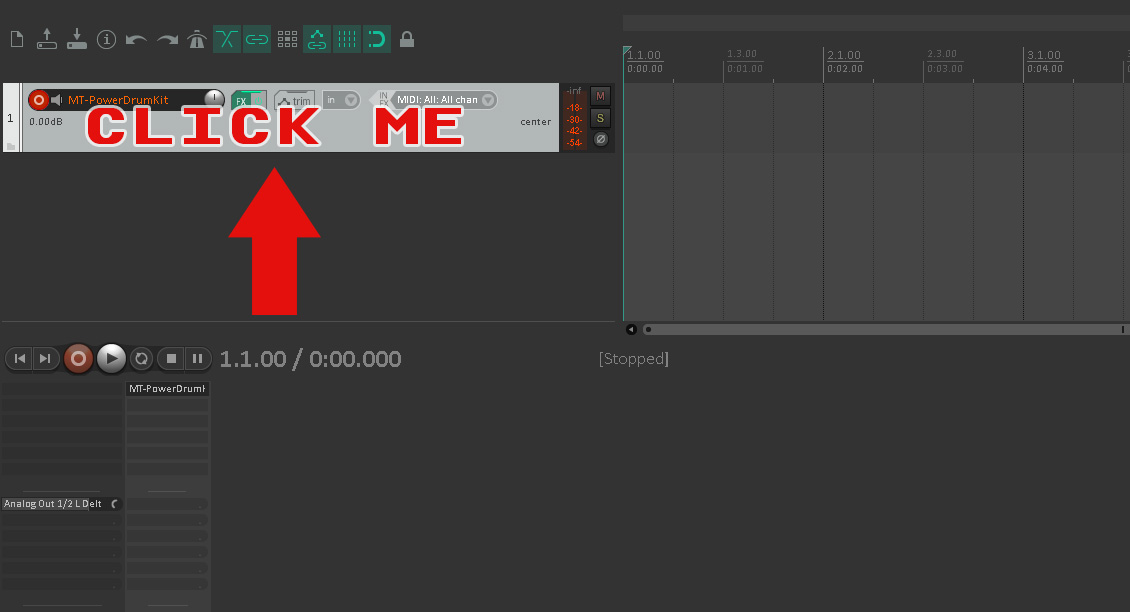
Click on the track.
Type ‘W’ on your keyboard – this makes sure the cursor/play position goes to the beginning.
Now we can insert out midi item.
Insert – New MIDI Item
We have now inserted our new midi item but if you notice the cursor/play position indicator is now at the end. Type ‘W’ on your keyboard to return the cursor back to the beginning.
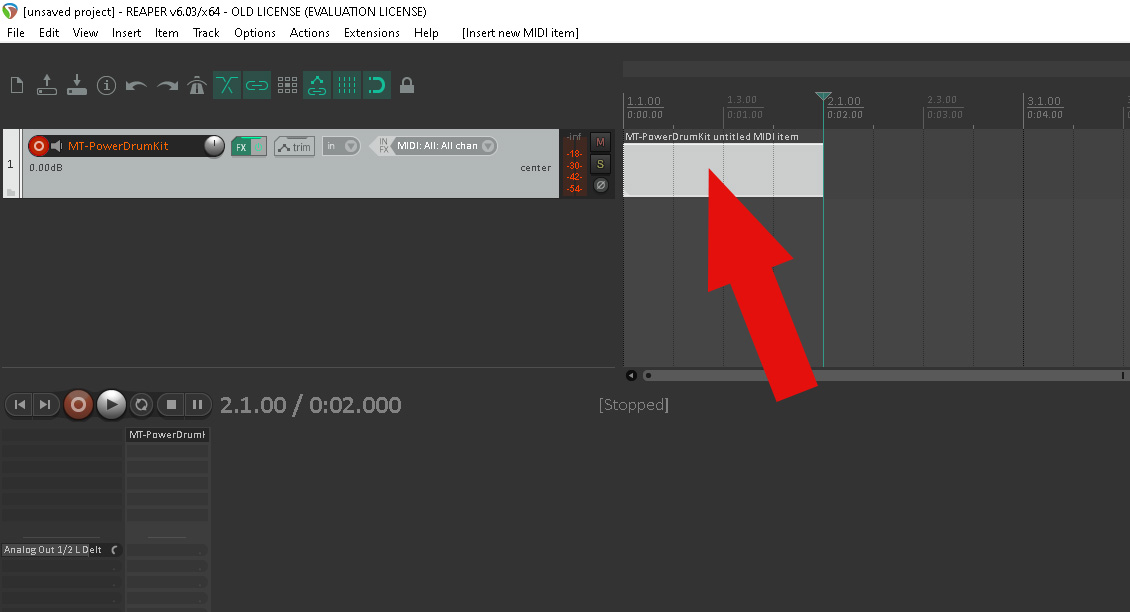
Type ‘W’
We now need to open the new item to bring up the piano roll screen.
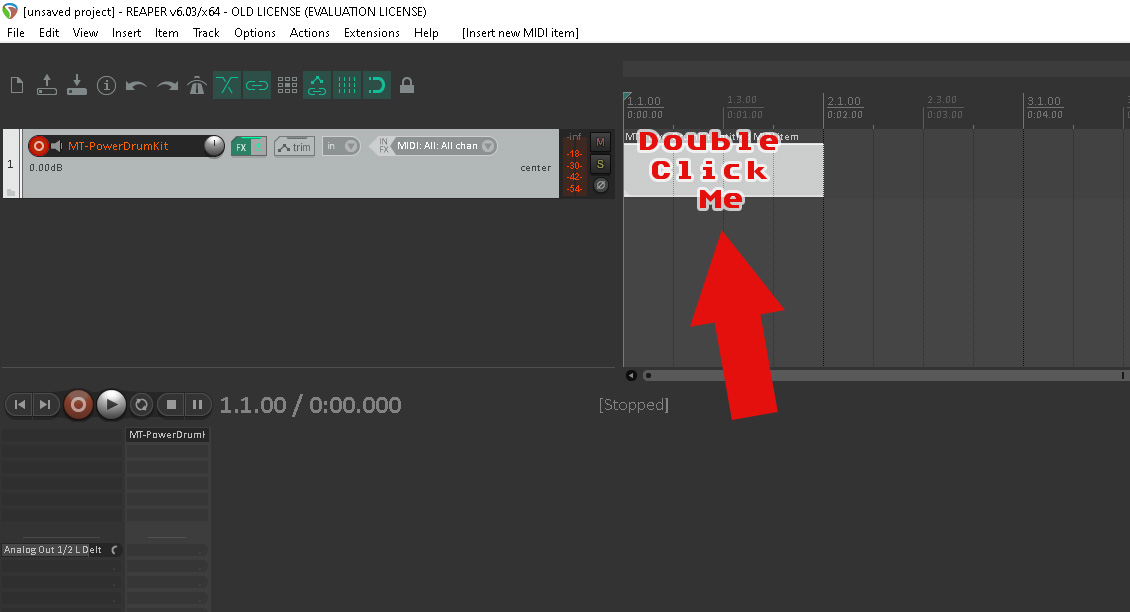
Double click the newly created Midi Item.
If the window is too small then press the ‘square’ button in the top right corner to enlarge.
I could go into an in depth discussion about all the different elements that are here but I’m going to keep it as simple as I possibly can just so I can get you creating a drum track.
A couple of things to set up here to make things simpler and easier to understand.
Hopefully.
Part 3
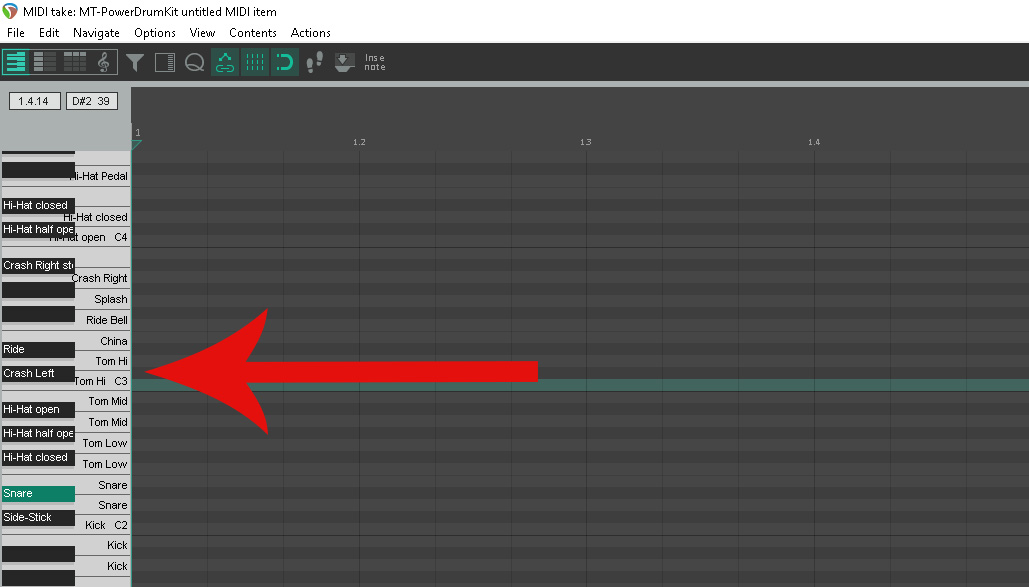
You will have noticed the piano on it’s side to the left – to make it easier for us we need to edit the notes to reflect the instruments we are going to program – each drum sound is tied to a note value on the piano – this can get a bit messy if we are constantly auditioned sounds – to rectify this we can load a file to name the piano notes.
Fortunately MT PowerDrumKit comes with a file already created. This file is in our VST64 folder or the folder where you installed the VST dll.
Let’s load that file now – File – Note/CC names – Load note/CC names from file – Choose file…
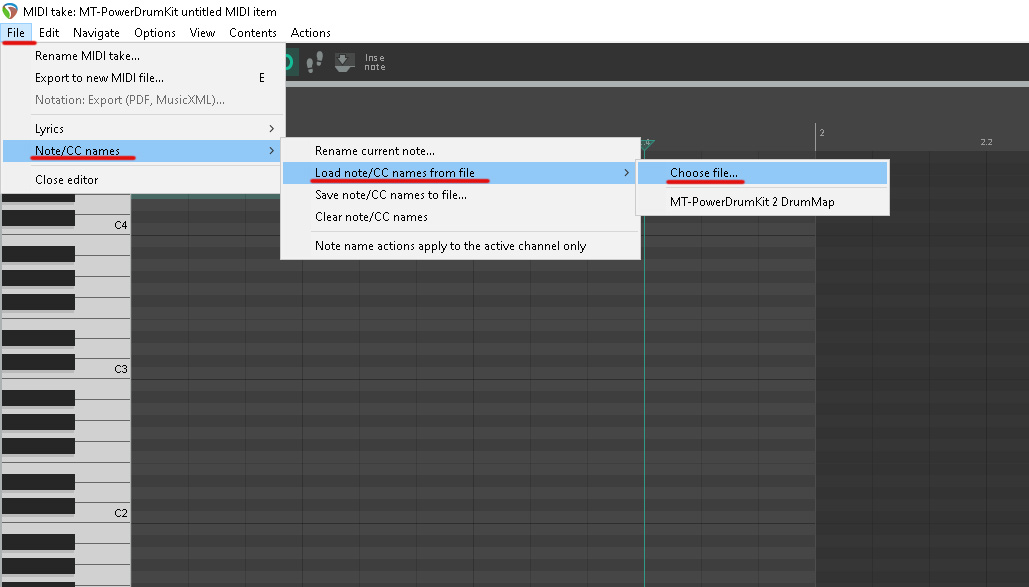
You will now have to use the browser to locate you file:
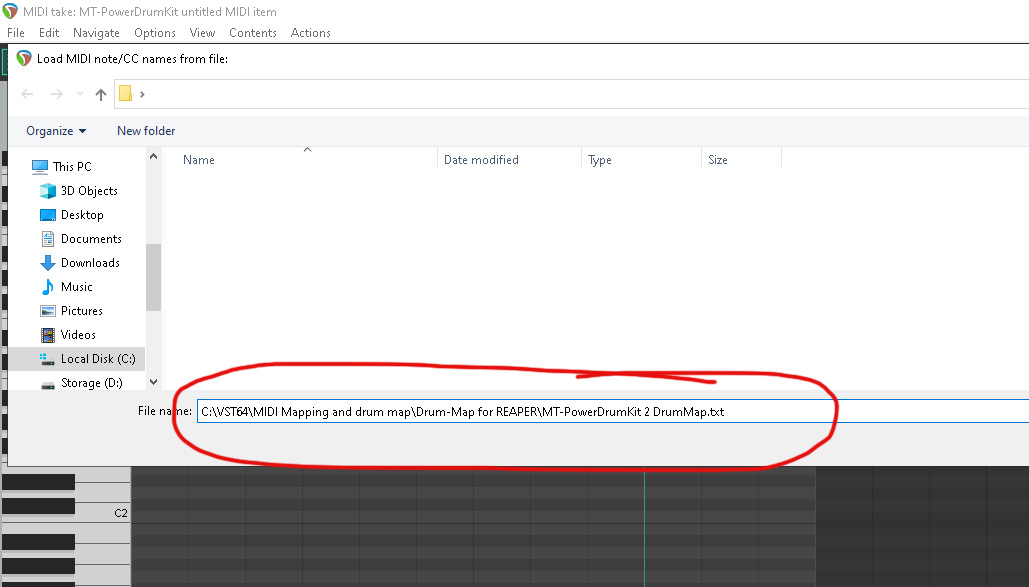
Type or copy and paste the following line into the file box:
C:\VST64\MIDI Mapping and drum map\Drum-Map for REAPER\MTPowerDrumKit 2 DrumMap.txt
As you can see from the image above, the note names and been loaded – this will make it much easier for us to create drum beats.
Next we need to set our grid values and note values:
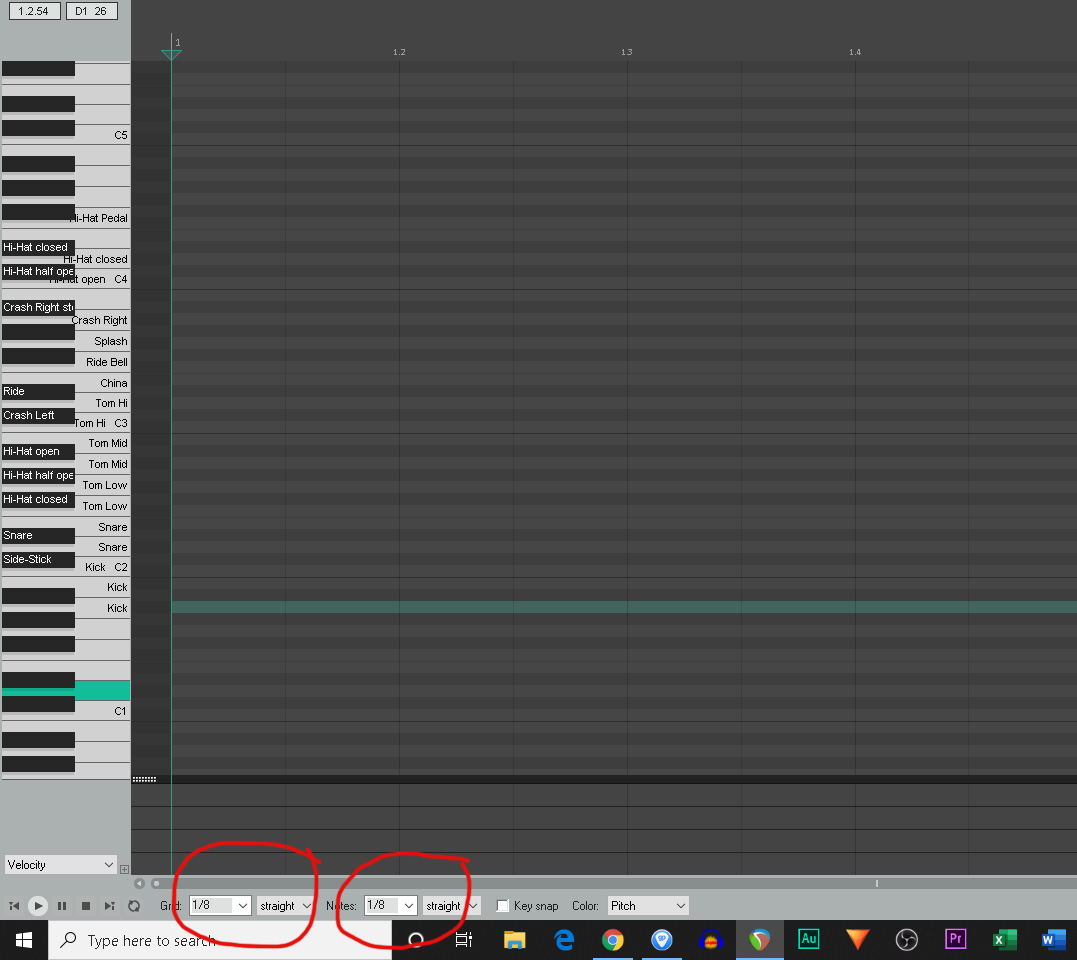
Let’s set our grid value to 1/8 – this is 8th beats:
If you change this value you will see the grid change 1/4 and the grid blocks will become larger – 1/16 and the blocks become smaller – above we have it set to 8ths – I have added numbers to the image to illustrate the division.
Next we need to make our note entries match the grid.
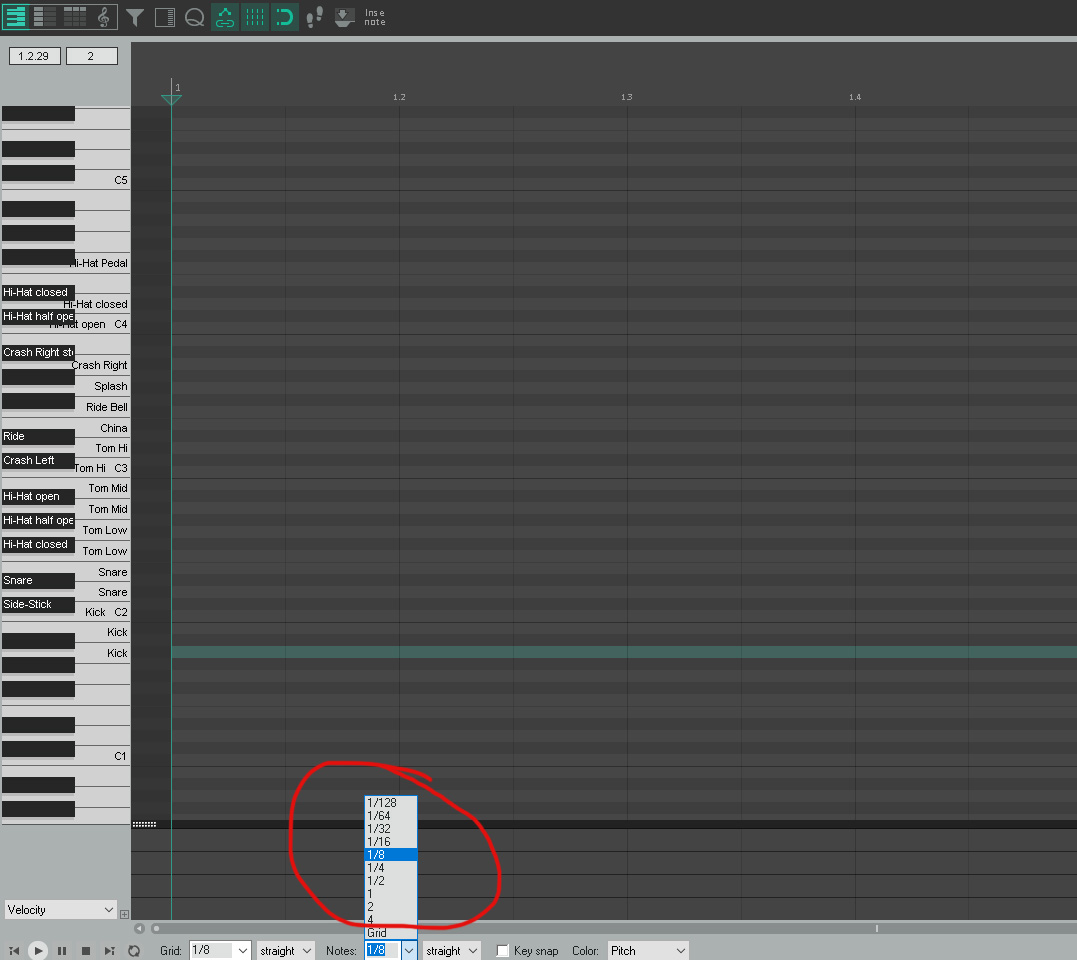
Leave this as is or set it to 1/8 you can experiment later – for the moment this what we will use to carry on the tutorial.
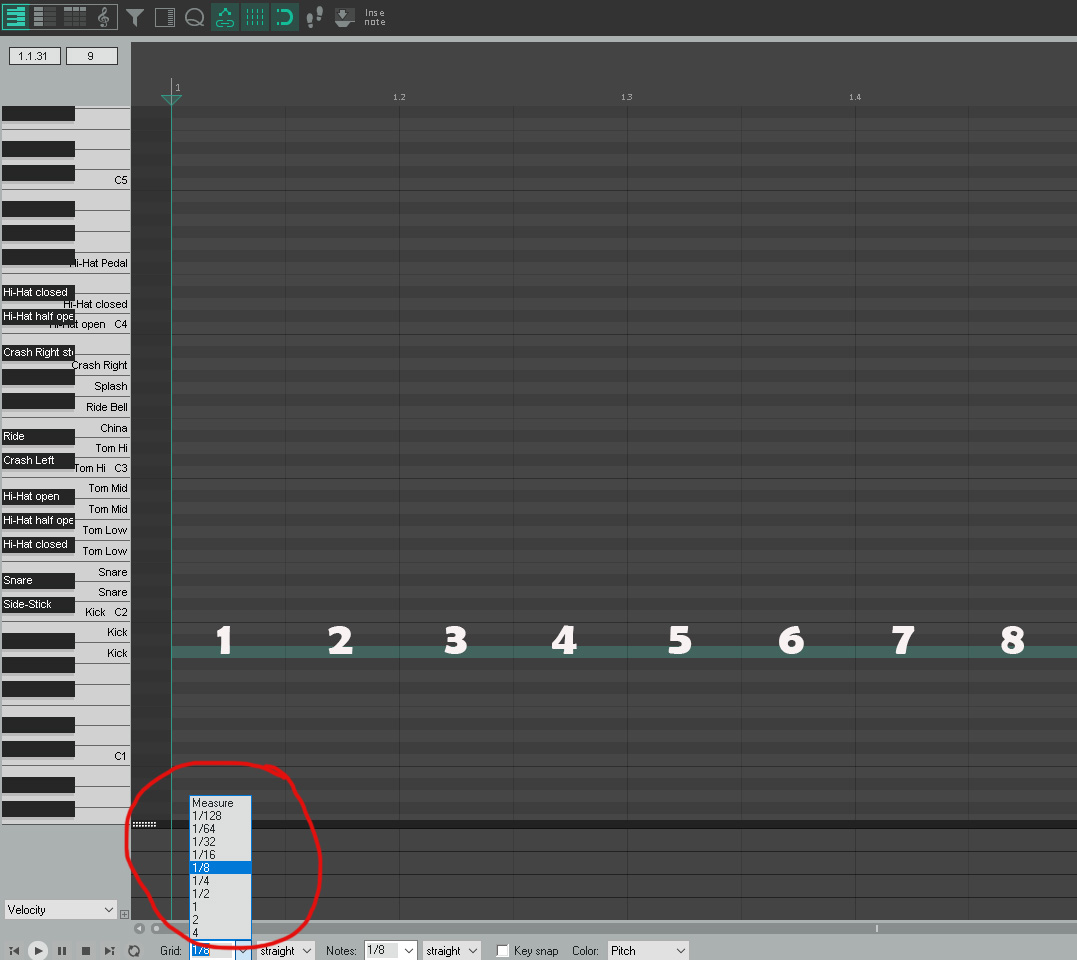
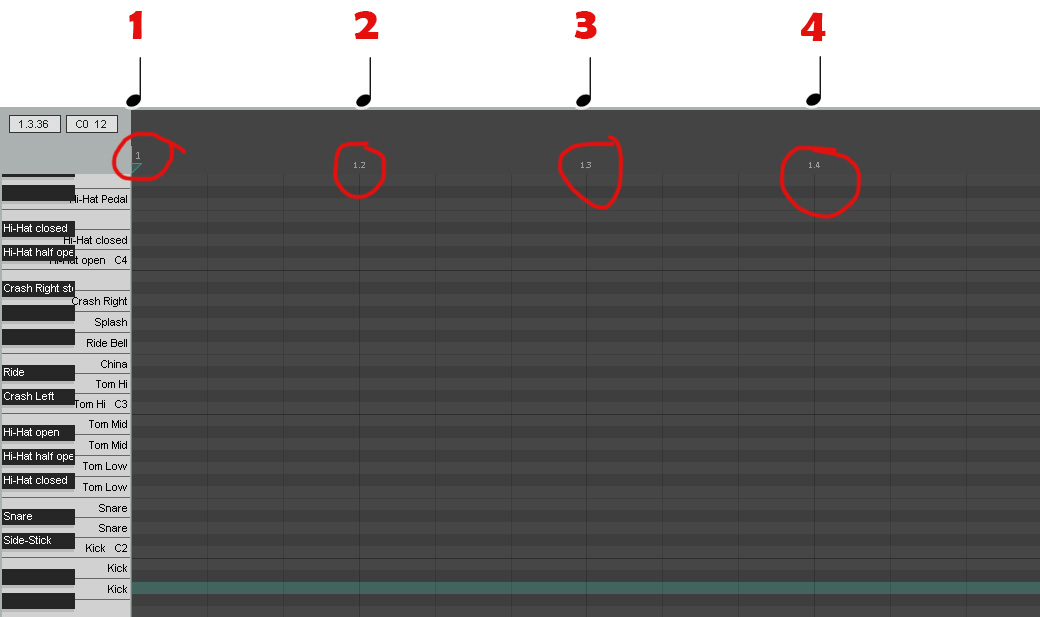
If you take a look at the following images you will see I have added some information to explain how the grid is divided so that we can use it to enter our notes and create a drum beat easier.
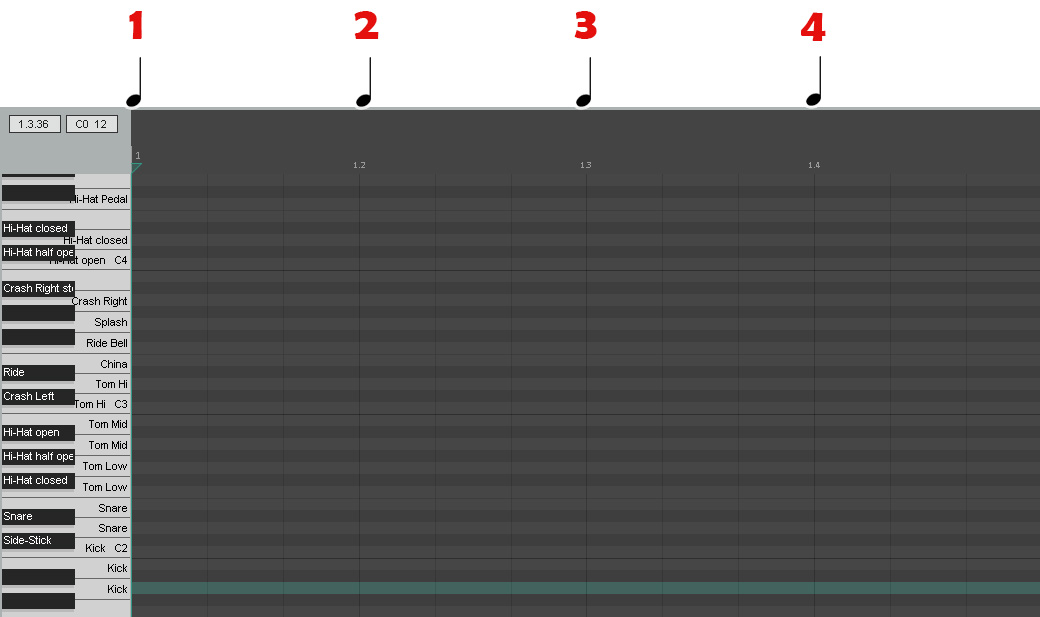
In Reaper the grid is divided by Bar and then subdivided by using numbers like this:
1.1
1.2
1.3
1.4
The first number is the bar number – the second number is the crotchet beat as shown below.
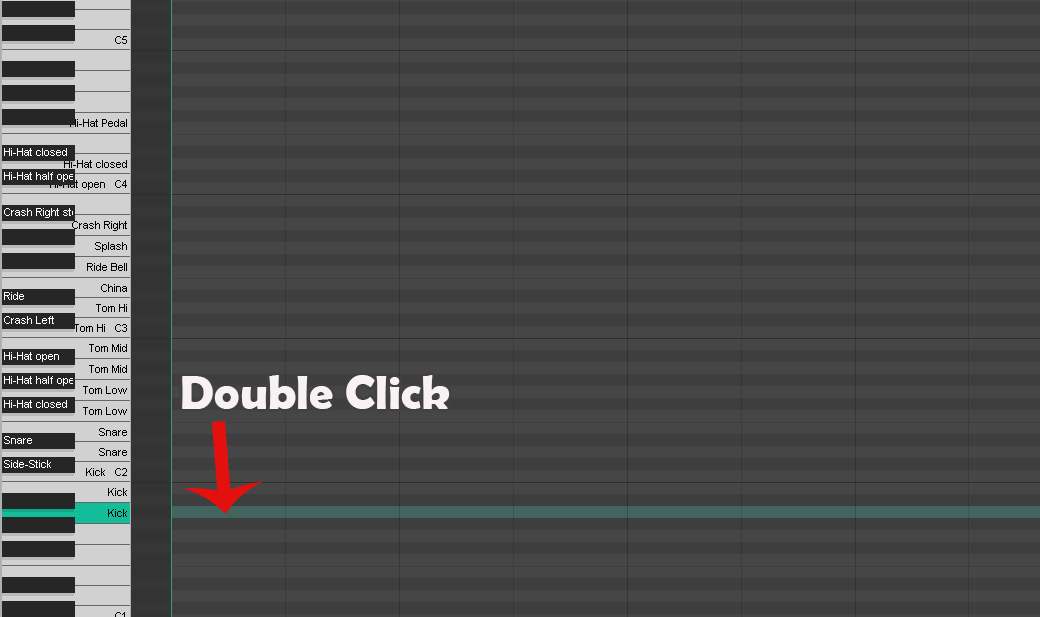
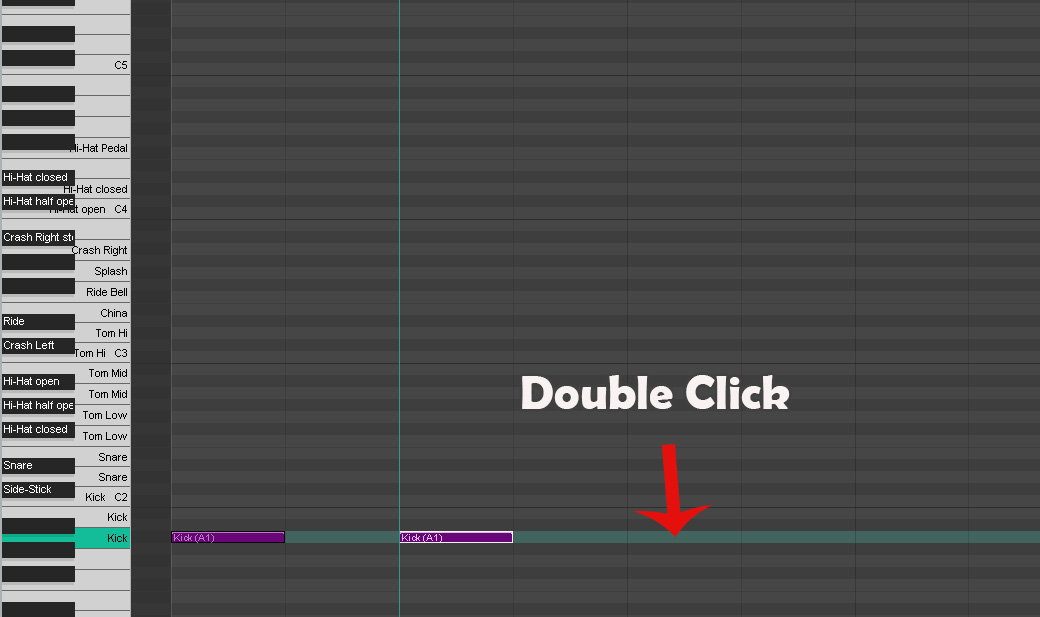
To enter notes we need to double click in on the grid.
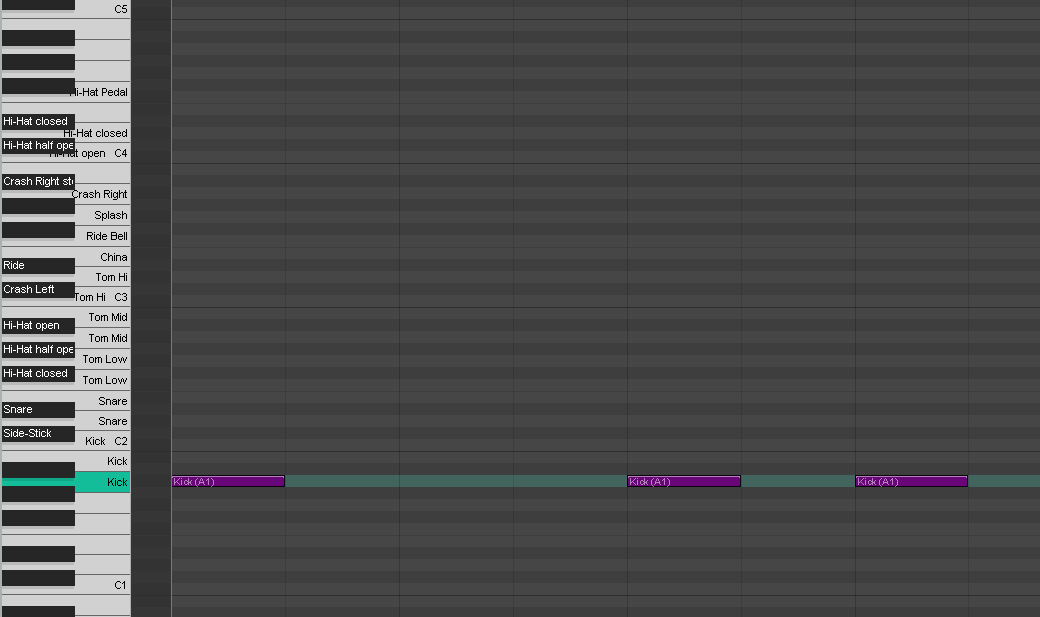
See images below to create four beats using the kick drum.
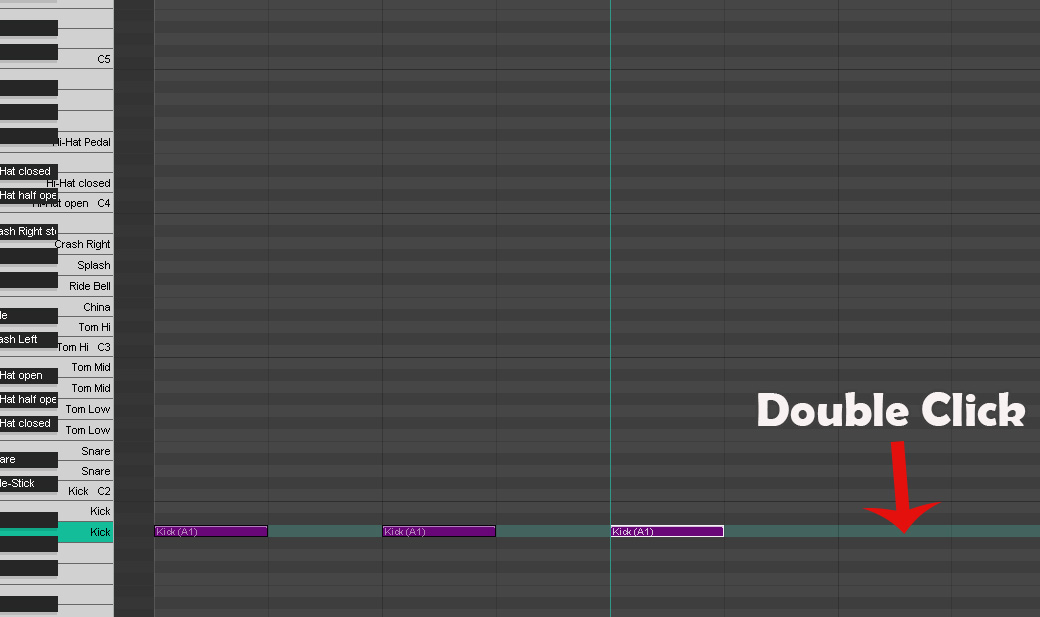
Type ‘W’ on your keyboard and press space to play.
You should here something like the audio below.
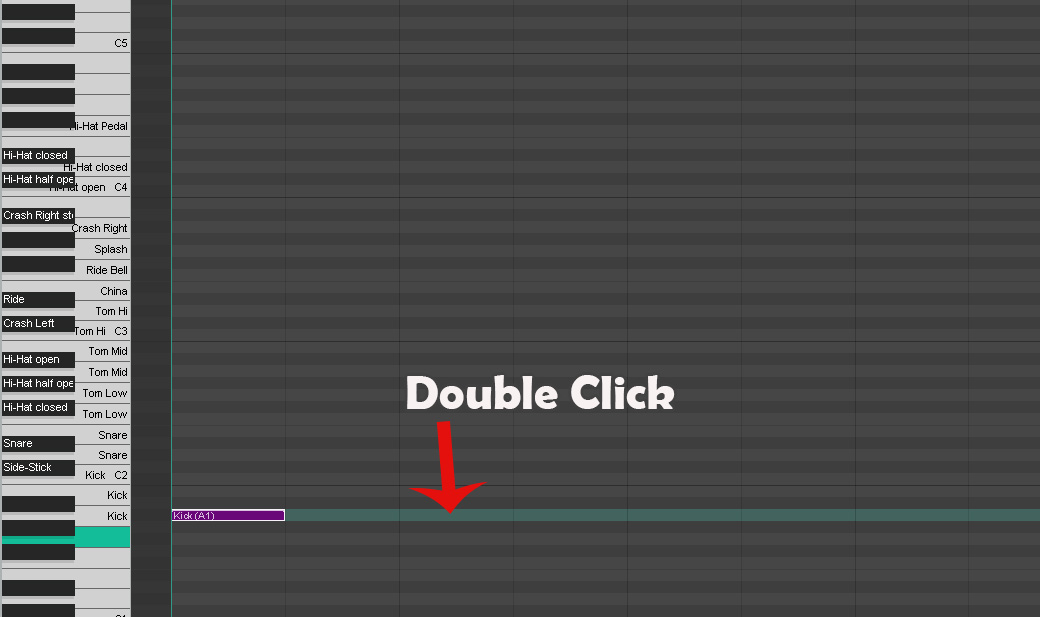
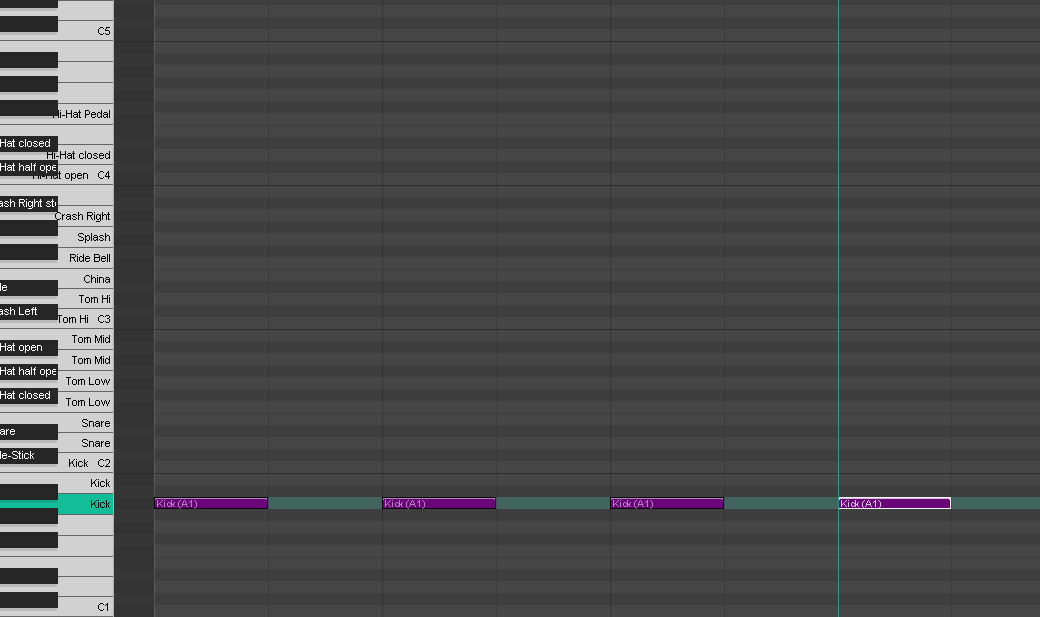
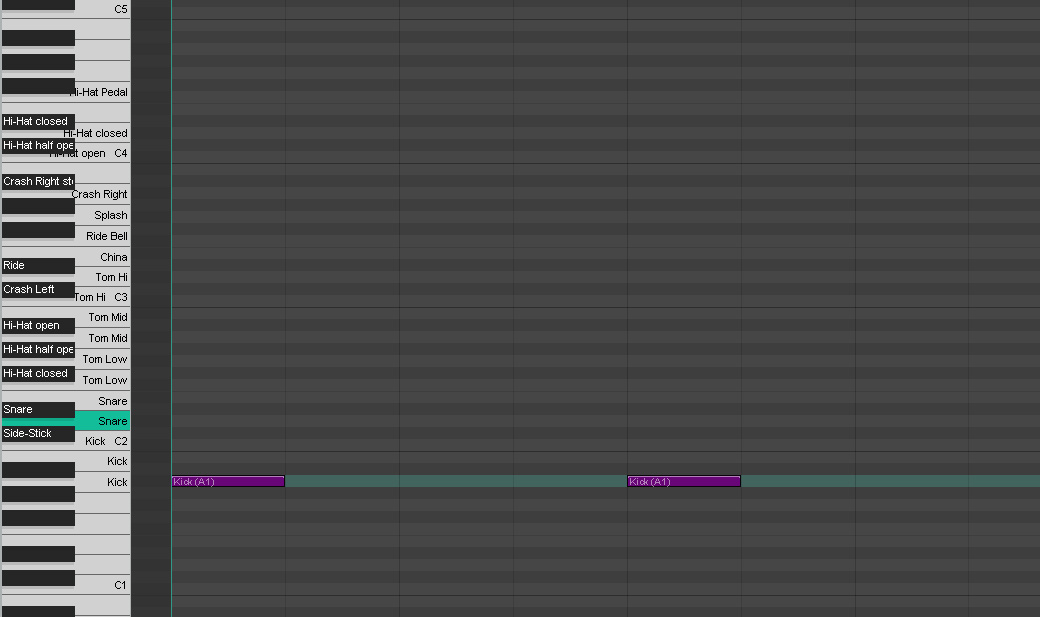
To remove a note we can double click that note – let’s delete beat 2.
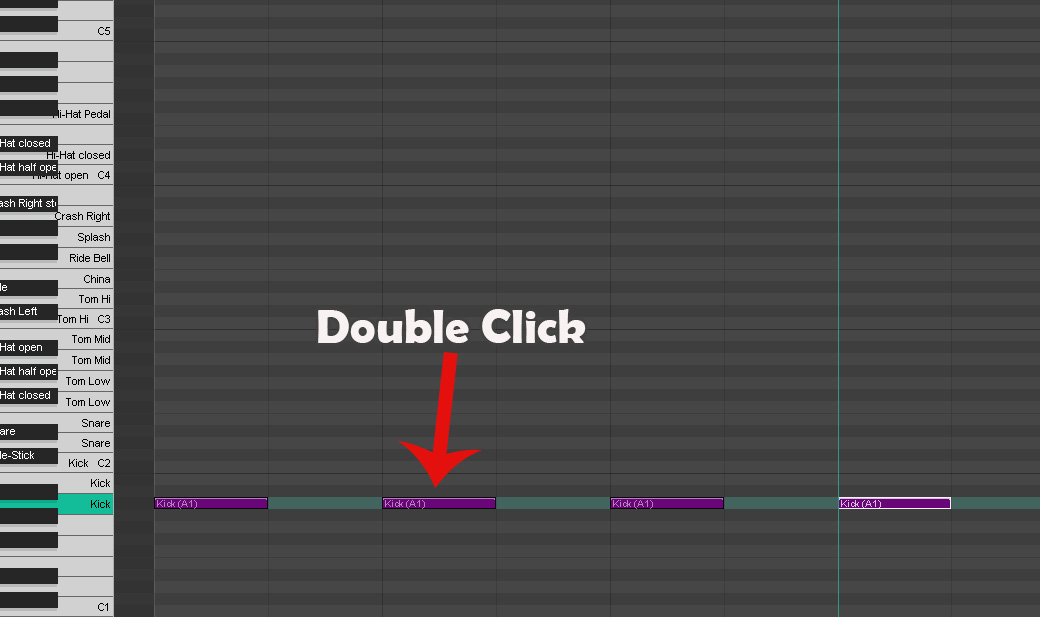
Repeat the same on beat 4:
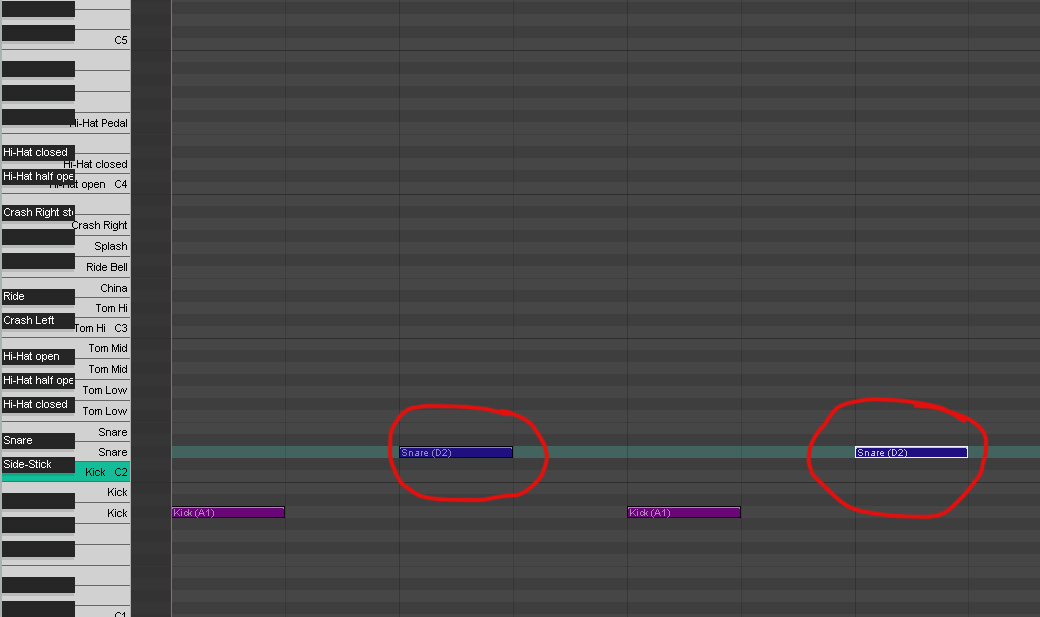
Now we are going to add a snare:
Double click in the grid to add the snare drum: see image below:
Type ‘W’ and then space to play.
You should here something like this.
Let’s move on to Hi Hats – we’ll use closed and 8ths to move the beat along:
Again double clicking follow the image below.
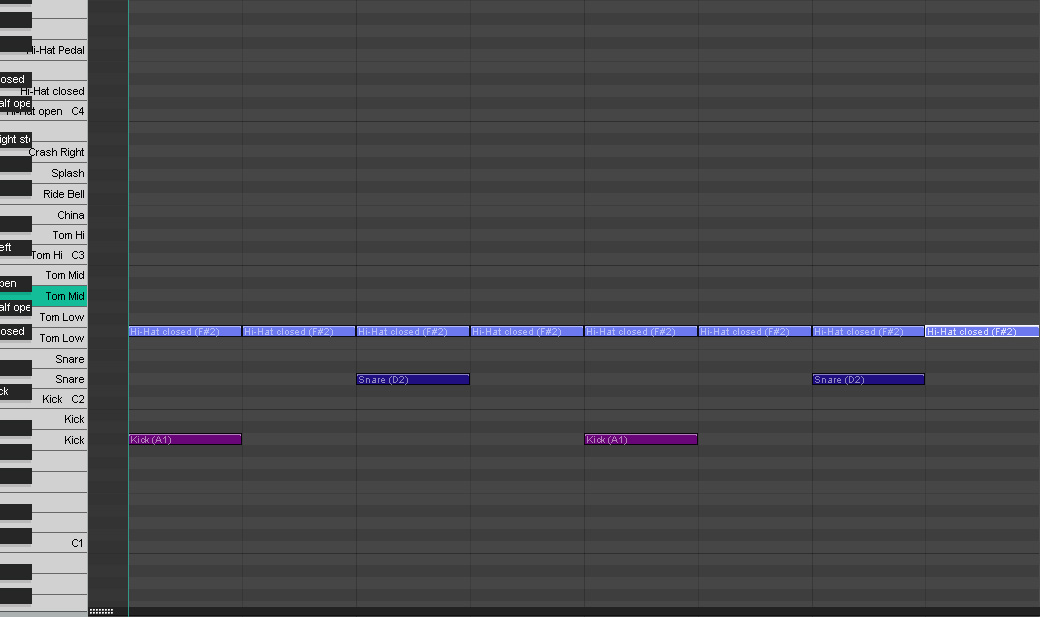
Hit ‘W’ on your keyboard – then press space to play.
You should here the following:
If you restart Reaper you will have to open the FX box and show the VST plugin and skip again.
This tutorial is not complete but it is a start – below the line above I’ll be adding more info on how to use velocity and change the bpm.
Check out my article on changing how Reaper’s midi editor looks to make a more complete Drum editor: