Reaper’s Snap to Grid options
Getting used Snap/grid settings is really useful for editing tracks in Reaper’s track timeline. This could mean when we want to split a take to only copy a small section we can by splitting the tracks in precise areas.
Split a track or take
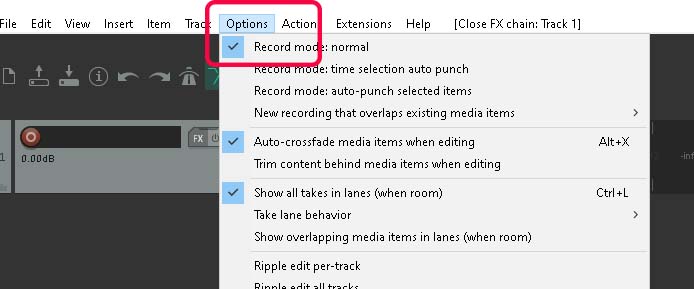
Reaper: Menu-Options
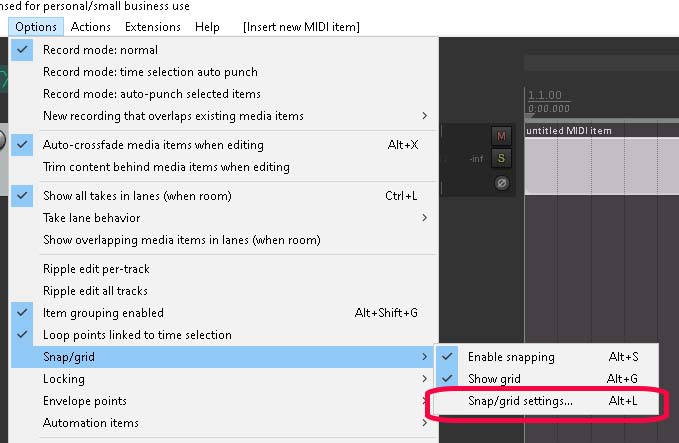
To Access Snap to Grid options and Snap Enable, Open the drop down options list from the top menu bar in Reaper.
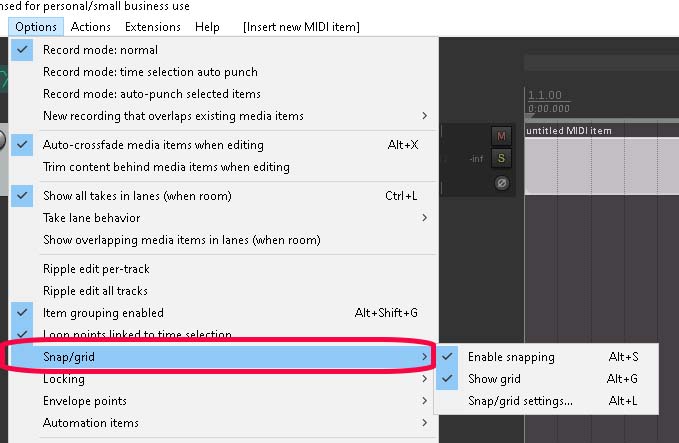
Reaper: Snap/Grid
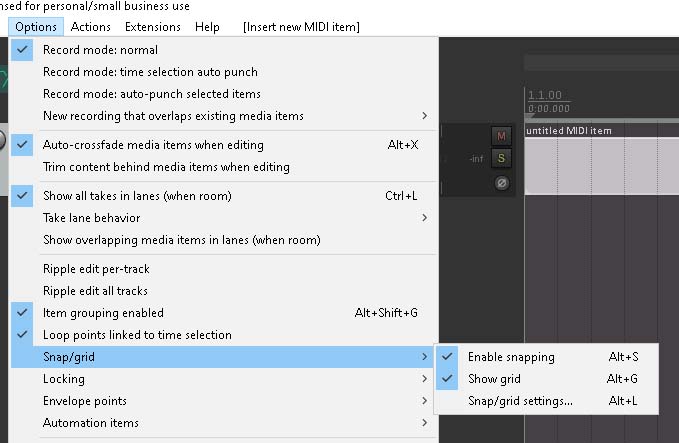
Reaper’s options for Snap and Grid will be now available to see.
As you can see in the image below we have three options.
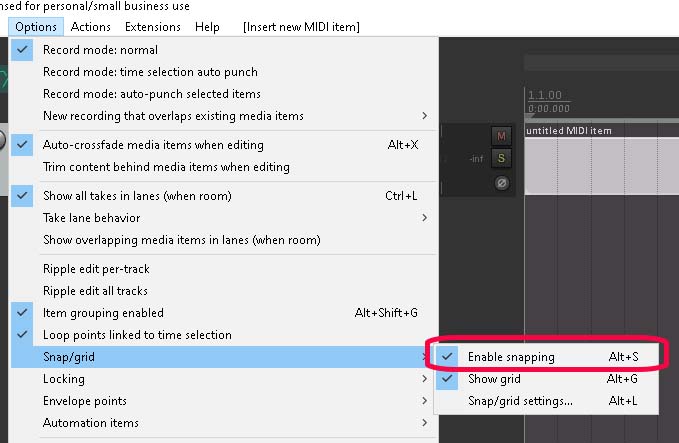
- Enable snapping – This bypasses snapping to grid settings. This is really useful when we need to adjust tracks outside of the grid settings. Shortcut for Enable snapping is Alt + S
- Show grid – This removes the grid from your track view Shortcut for Show grid is Alt + G
- Snap/grid settings – This option opens up the Snap and Grid window. Shortcut is Alt + L
Enable snapping:
Alt + L Snap/grid settings:
Snap/grid options window:
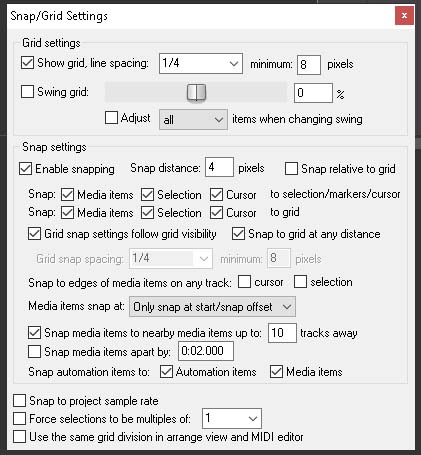
Window, Snap/grid options:
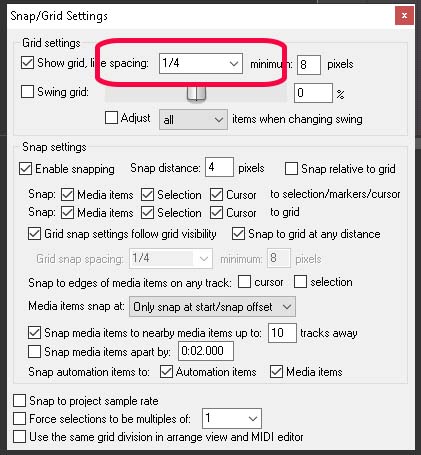
The circled setting will open a drop down that has divisions of Bars and Beats for our grid settings, this allows us to use snap to beat much more effectively. Also allows to split items to certain lengths to copy and paste correctly.
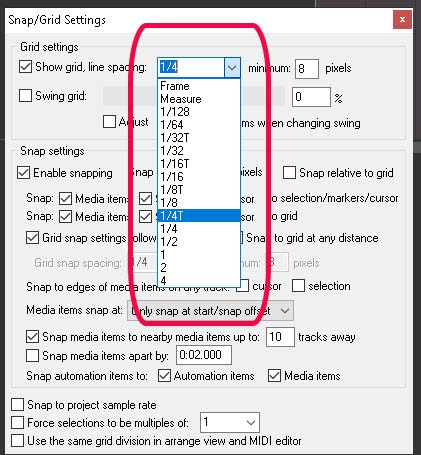
Dropdown Snap/grid options: Divisions.
Subdividing the beat can be achieved by changing the value in the dropdown list.
As you can see it has option that include Frame, Measure, Straight beats and Triplets.
Using Snap/Grid options can also be used to create loops, regions – bypassing snap settings means that we can do close editing if we need to edit individual notes of a take of remove noise, clicks bangs etc.
1 Comment
Add a Comment