I been a thinkin’ and a stinkin’
What if I could automate effects parameters in a pattern based way.
What I’m saying is um ya know – not use envelopes in the conventional sense but to have a less clumsy way? Or a lazier way, probably a lazier way huh?
I don’t care, it was there to be thunk, so I thunk it.
And I think I has it, huzzah melon farmer.
Call me Mr Majestyk.
Excuse my rambling, sleep deprivation, that time of year again.
This tutorial such as it is is purely based on Reaper and two of it’s own plugins.
sequencer megababy and ReaControlMIDI
This will give us the automation.
The third plugin will be either a synth or effect.
In this case Synapse’s Dune CM
You will need to create an FX chain as below,
Where Dune CM is add your Instrument/Effect.
Let’s start with Sequencer Megababy:
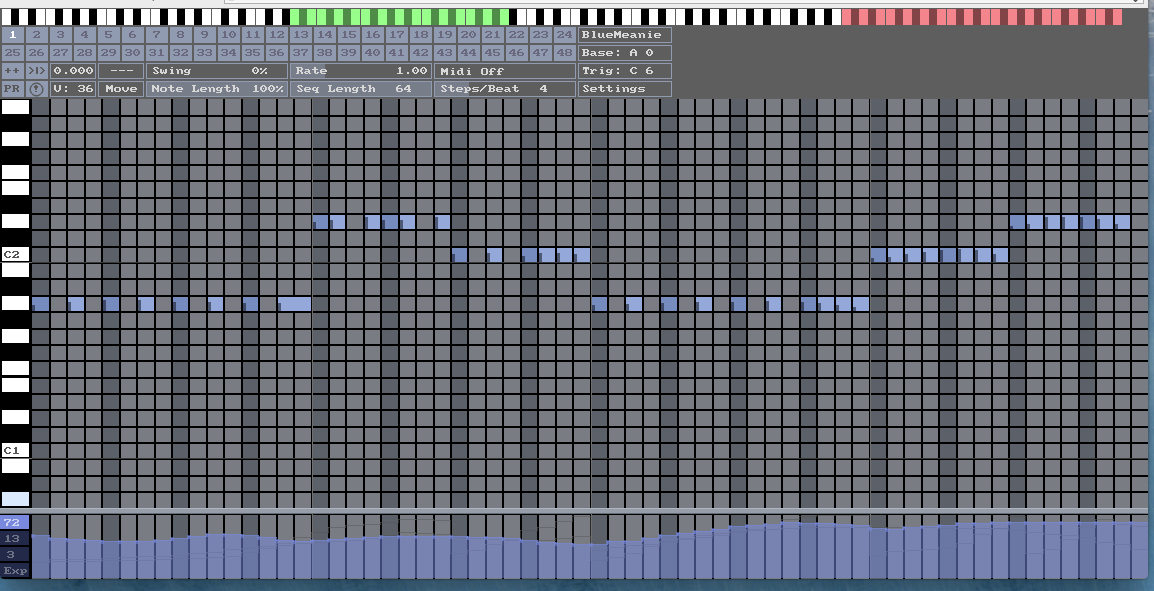
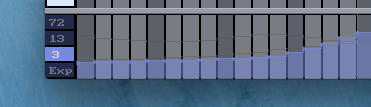
At the bottom of the screen there is a midi control window – there are only four options.
If you have never messed around with this section before it will probably say ‘Mod’, ‘Vol’, ‘Pan’ and ‘Exp’
As you can see I have already changed these to 72, 13 and 3
There is no reason for this other than I was experimenting.
To change the value you need to hover your mouse over the value you want to change, hold down left click and move either up or down – make sure you are over the value and not the fader – i.e if it still says ‘Mod’ hover directly over that – it’s fiddly.
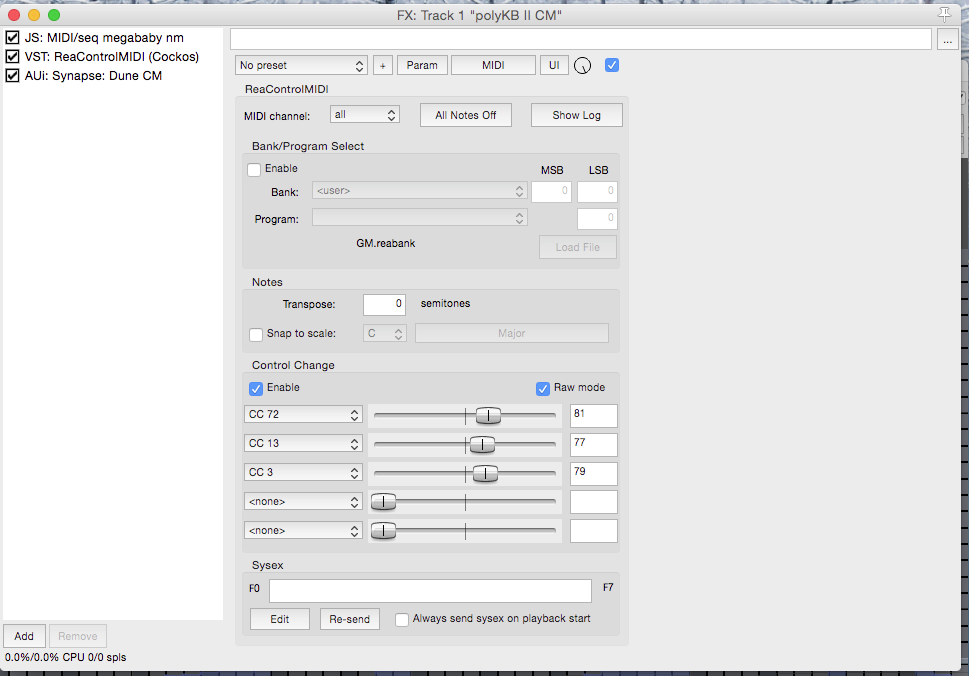
The next thing to do is set up ReaControlMidi,
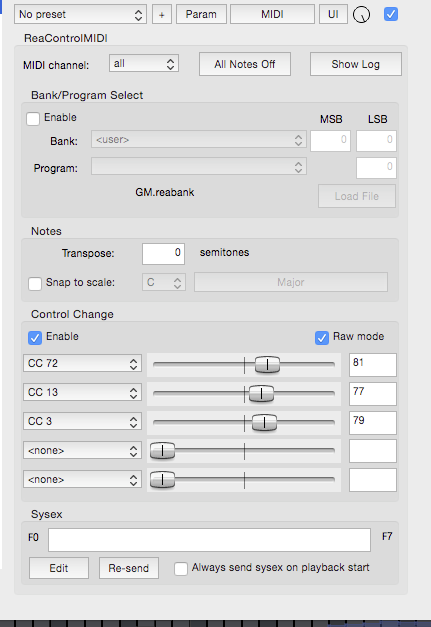
Under, ‘Control Change’, tick, ‘Enable’.
Below this you will see that the values I have changed correlate to Sequencer MegaBaby.
Do the same – it’s just a drop down menu so find your values and make sure they match.
Now to the meat.
Go to your synth/effect.
In the right hand corner look for Param – click and you will get a drop down.
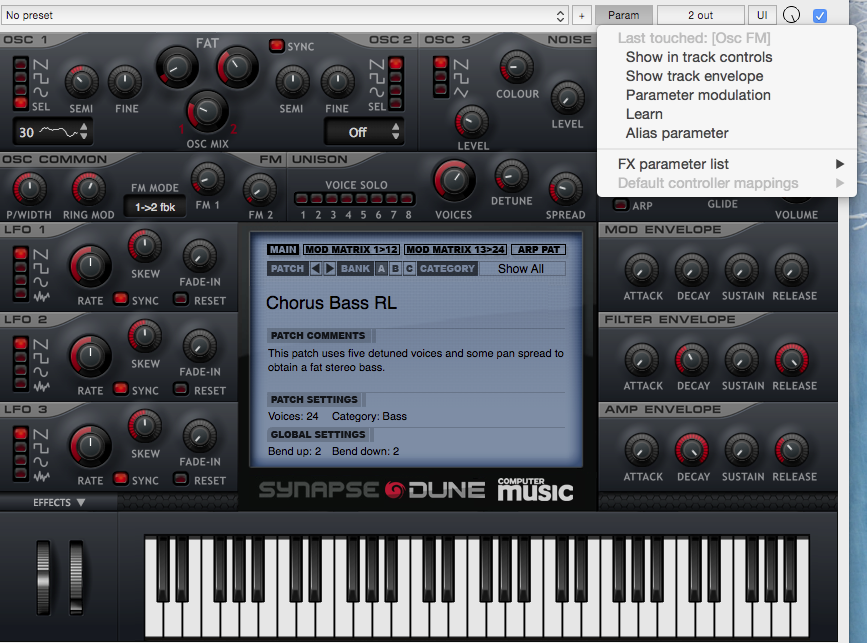
Look for FX parameter list – Parameter modulation and choose the parameter you want to link.
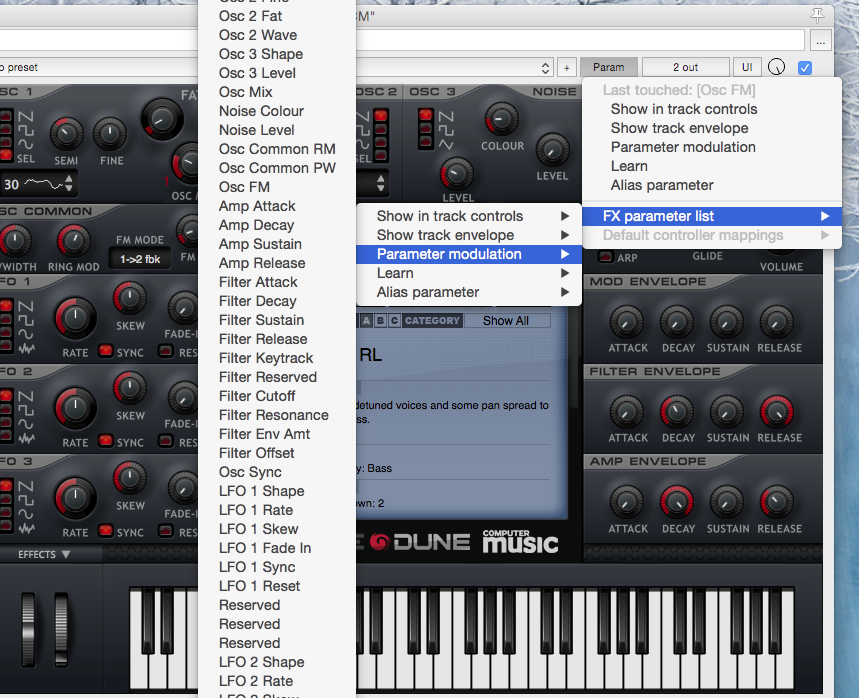
Follow the screen shots below:
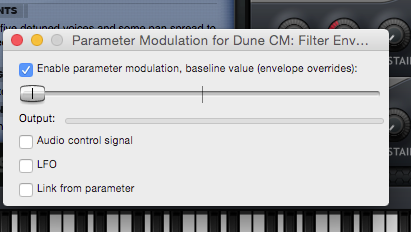
Tick ‘Link from parameter’
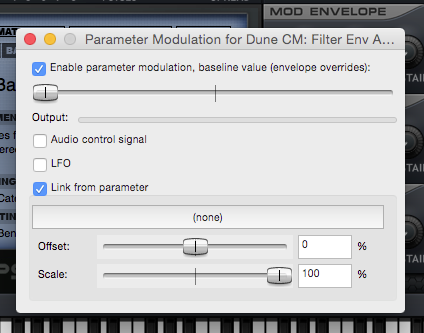
Wheree it says ‘(none)’ – click and choose your value form ReaControlMidi.
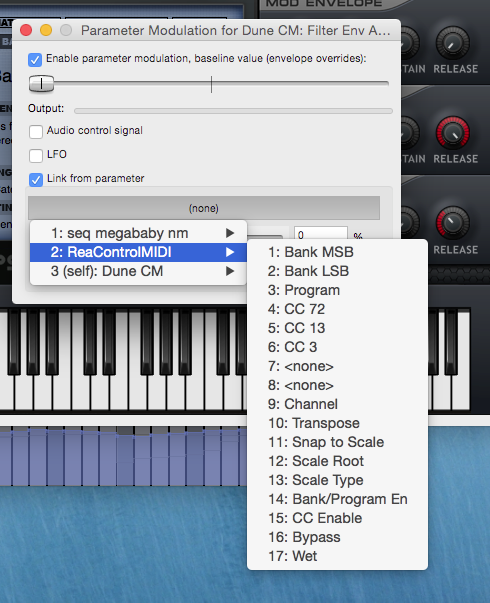
As you can see below, My parameter is set to CC3
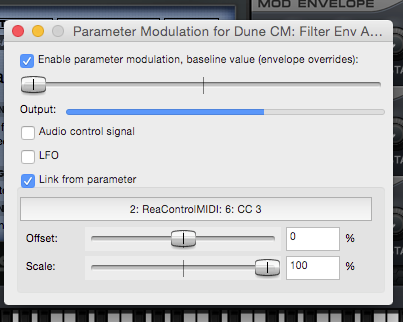
This matches my value in Sequencer Megababy.
Hopefully it should now work.
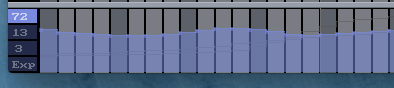
Draw in a curve as above using your mouse, press play and see if your chosen parameter moves.
If not then check your steps again.
I hope this will help someone – probably just me ha.
If you get it right – save it as an FX Chain.