When creating large projects in Reaper it can get pretty confusing as to which track is which.
To make thing easier can do a few things.
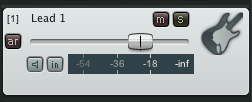
Name the track – give it a descriptive name – i.e. Drums, Synth, Piano, Guitar
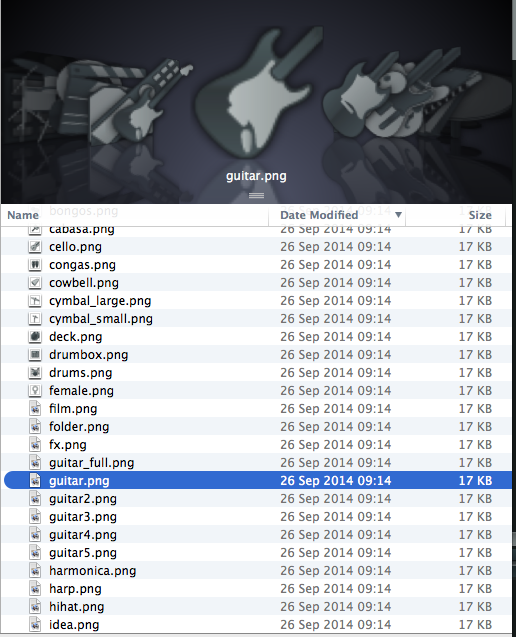
We can also allocate an icon to a track.
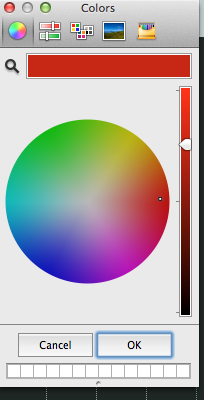
And we can give each track a colour.
Now some instruments such as drums are pretty straight forward but what if we have multiple guitars for example?
Well we can organise those so that they have the same colour, give them a guitar icon and then use the naming to give that guitar a label that is descriptive.
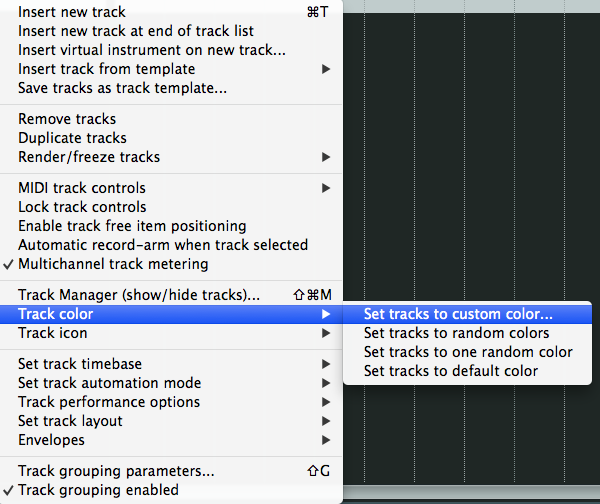
By right clicking on the track we can open up a menu.
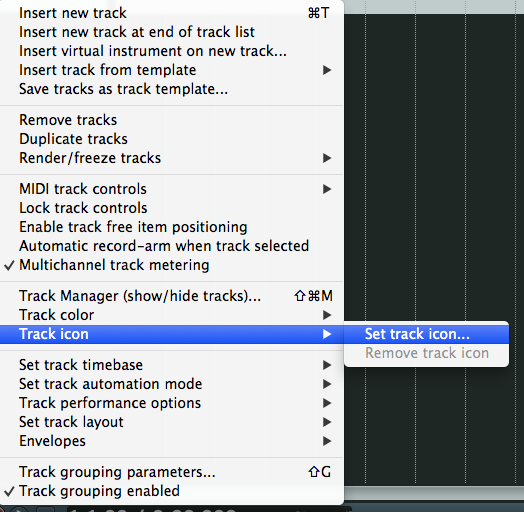
Choose from the list and pick your icon.
Double Click in the name area and enter your description.
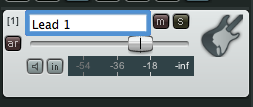
Finally right click on the track and pick a colour.

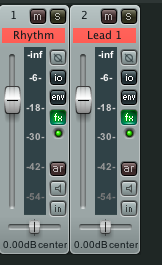
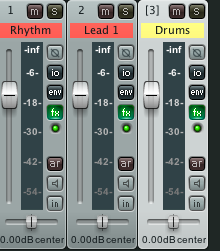
If we have multiple tracks we can then have a setup like this,
Track View:
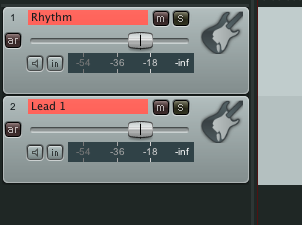
Mixer View:
More Tracks –
Track View:
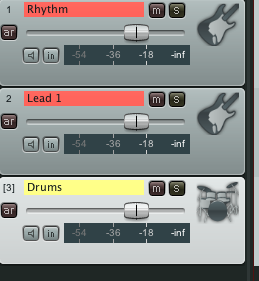
Mixer View:
You can go on, it’s best to start this way rather than at the end of a session but it’s up to you.
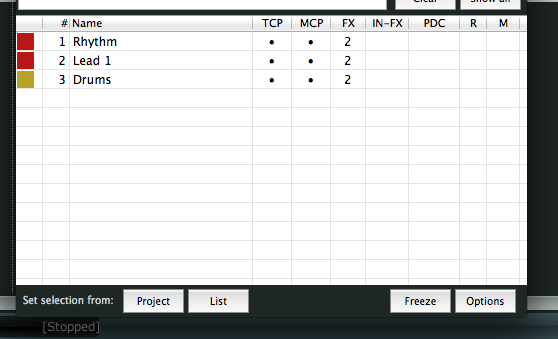
Another way to do this is to access the ‘Track Manager’.
You can do this by right clicking any track.
You can change colours and name tracks – you also have access to FX for each track.
The best part of this is the ability to hide tracks – if you colour code your instruments this can be really useful.
To hide a track in the ‘Track View’ screen you click the ‘*’ under ‘TCP’
To hide a track in the ‘Mixer’ dock click the ‘*’ under ‘MCP’
You can also ‘arm’ a track or mute/solo a track.
Note: A good tip is that if you create a track template then set up your icons and colours accordingly to save time later.
Job done…
