This article deals with midi input – for midi output please read – Setting up a Midi Device in Reaper part 1
Getting your midi device to work in Reaper is quite a simple procedure.
First you will need to install any software or drivers for your operating system.
Some will work right out of the box but in some cases you will need to follow your brands instructions.
Once the device is setup you can now open up Reaper and get started.
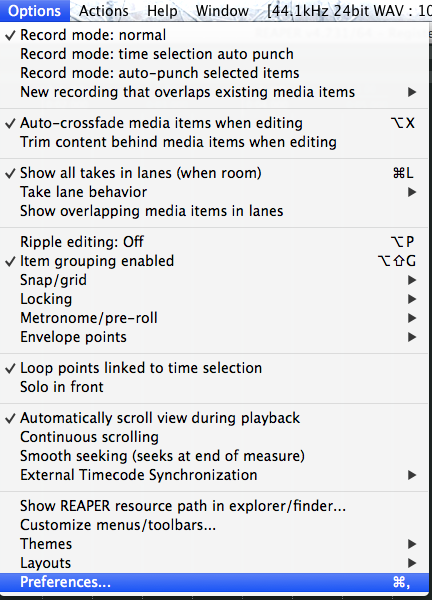
First, on the menu goto ‘Options’ – ‘Preferences’ located at the bottom of the dropdown menu.
On the left side of the popup is a list of items that can be changed to make things work.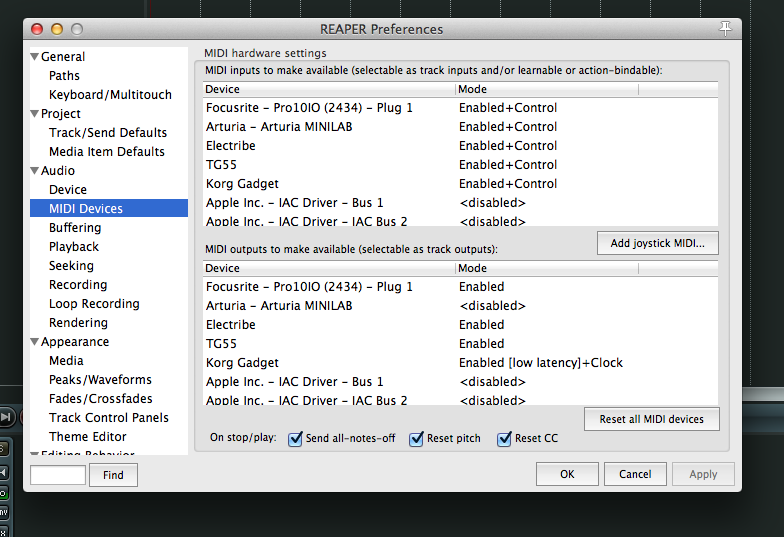
Scroll down until you find MIDI Devices, as shown in the image below.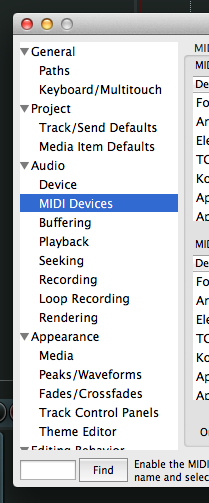
On the right side of the popup you will see a list of devices, they will usually be named after you devices brans and model. In some cases they may just be named ‘USB device’ or some variant of that. If you have more than one device installed you will have to figure out which one you want to set up.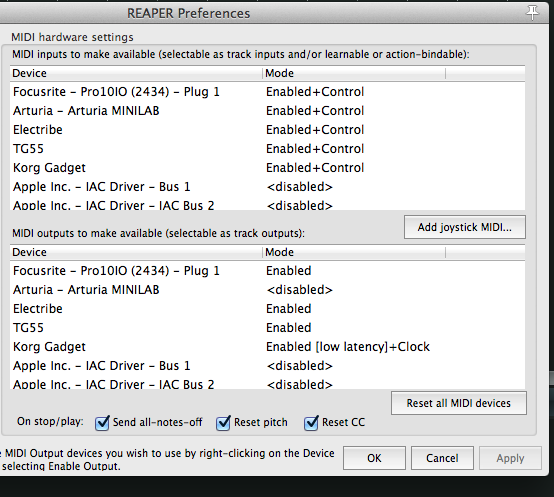
My devices pictured above have already been set up for the most part.
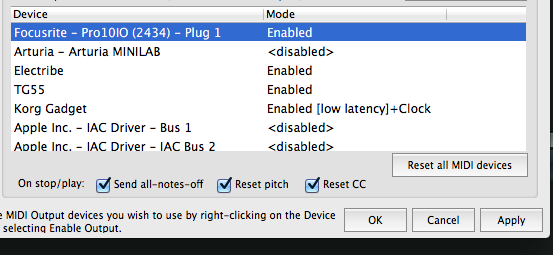
Again as in my previous tutorial let’s use my Focusrite Pro10 as our example.
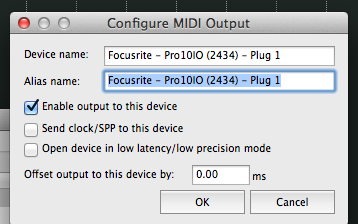
If we’re using our device with external equipment we will need to ‘Enable output to this device’
By external equipment I primarily mean Synths and Sound modules, this could include Guitar Effects units that have midi capabilities.
It could also mean connecting to an external ‘Sequencer’.
This could be hardware or another pc.
If we want to sync these devices then we need to tick, ‘Send clock/SPP to this device’
This is not always a surety to work. If you want more info on how to get this working then read these tutorials – Reaper Midi Timecode Sync or Reaper Midi Clock Sync
If you want to know about midi routing in Reaper then please read – Reaper Midi Routing – Setting up Midi output.
