This Tutorial will take into account that you are already familiar with Sequencer_Megababy, if not then please refer to my previous articles:
The Sequencer_Megababy plugin for Reaper can be programmed into 16 Patterns – these Patterns can then be triggered using midi notes on the track via Piano Roll.
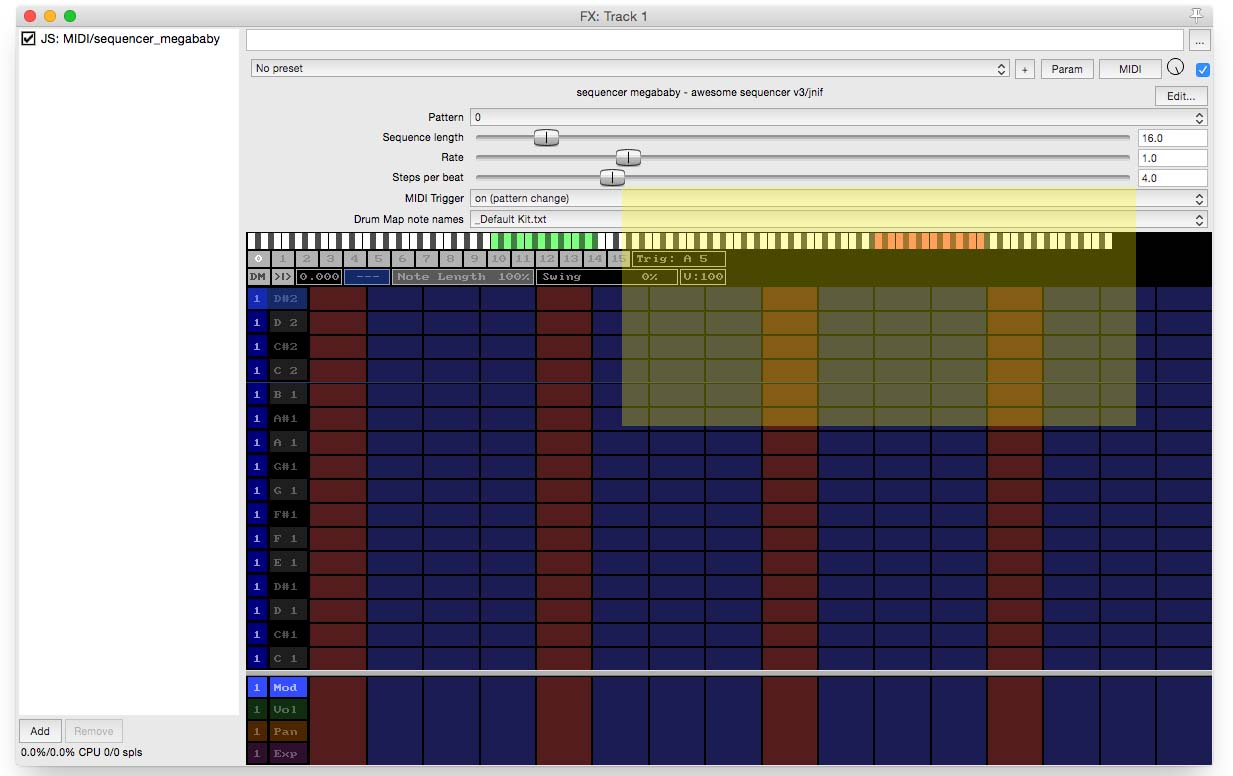
In the image below I have highlighted the midi trigger zone.
As you can tell it is a keyboard
Fig A
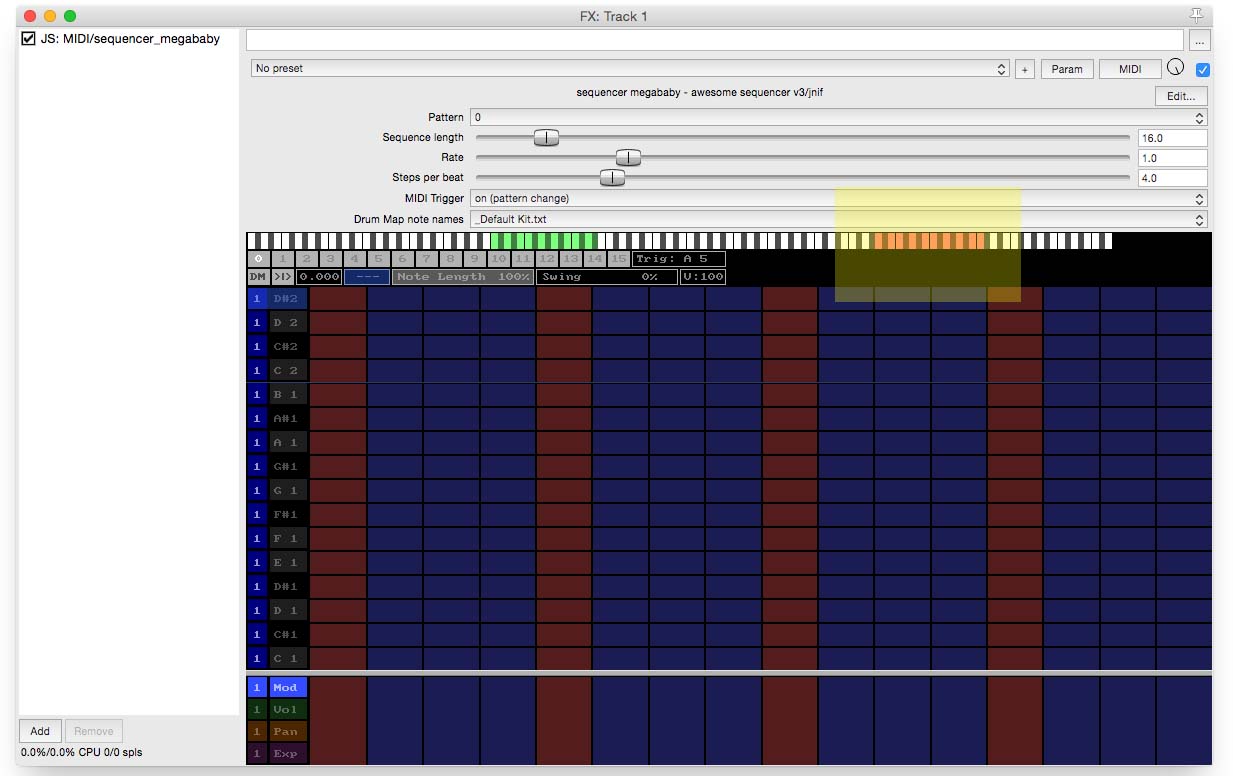
The Red portion of the keyboard is the Midi Trigger Zone this can be altered,
The section I have highlighted below tells us the lowest note of our Midi Trigger Zone, when we alter the location of the zone this value will change…
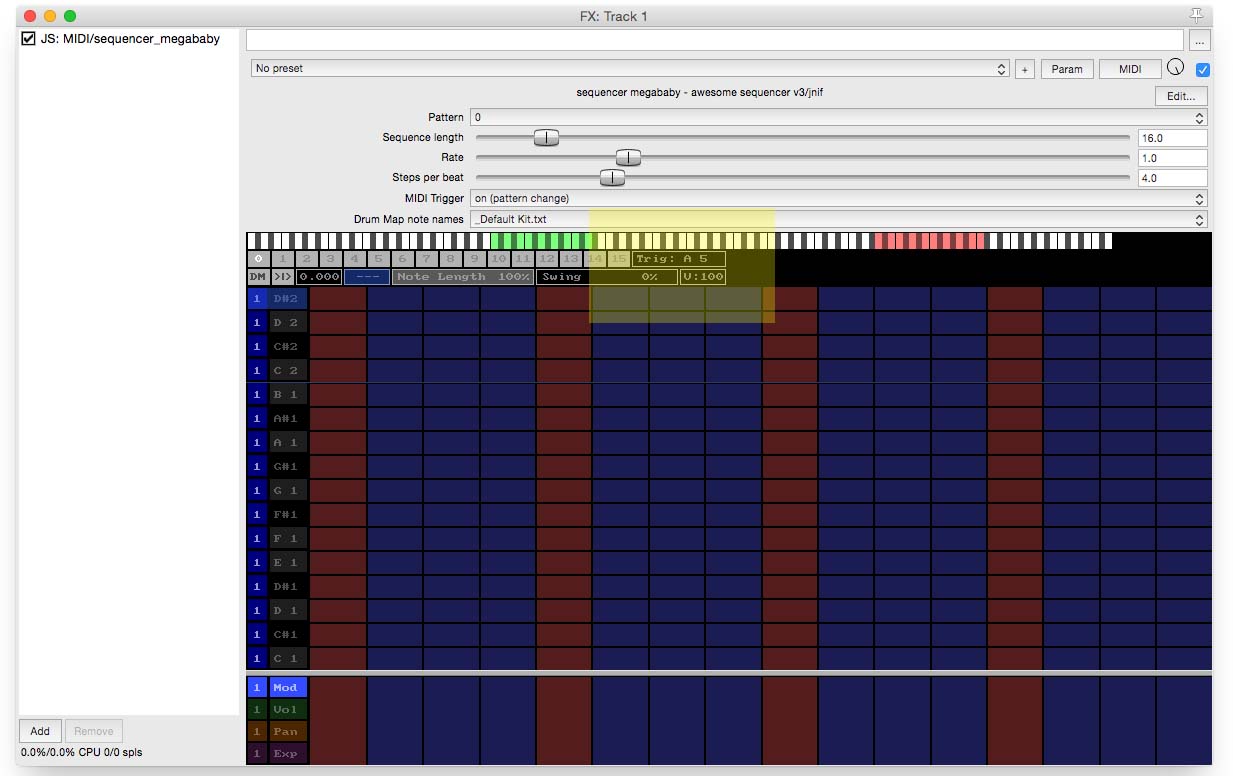
Fig C
To alter the Zone we can drag it left or right into an area of the keyboard that we would prefer.
Using the mouse hover over the Red zone that I highlighted in Fig B and holding down the left click of your mouse drag the zone left or right. See video below…
Watch the video again and look at the zone highlighted in Fig C see how it changes?
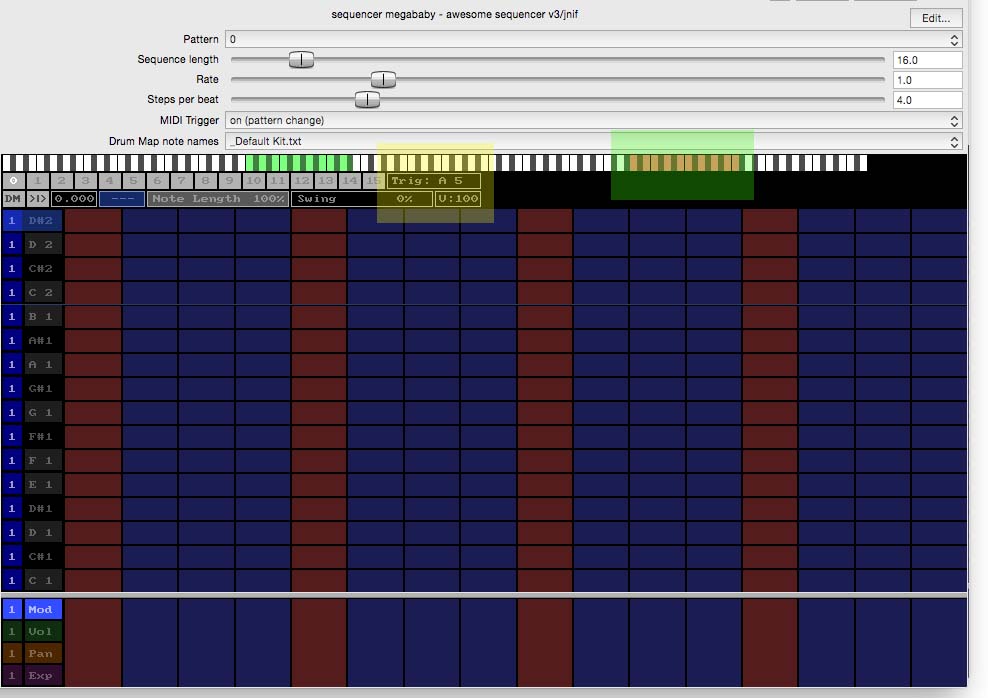
Move the Zone to C5
Next we need to tell Sequencer_Megababy that is is now in Midi Trigger Mode.
Video:
<—————–Midi Trigger Using Piano Roll—————>
Click on the Track that hosts sequencer_megababy
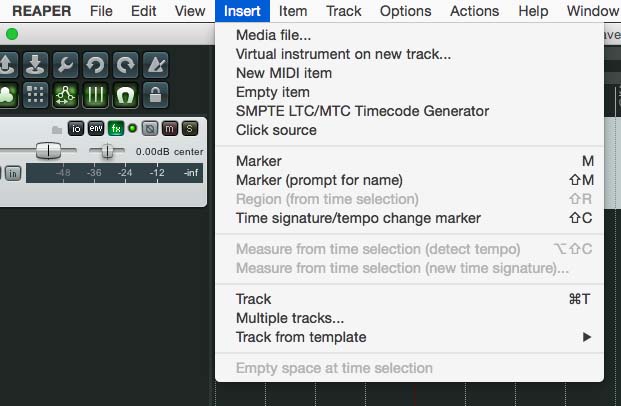
Insert Midi Item…
Choose New Midi item
Now next to your Track you should see the following…
Press W and you will go to the beginning of the track.
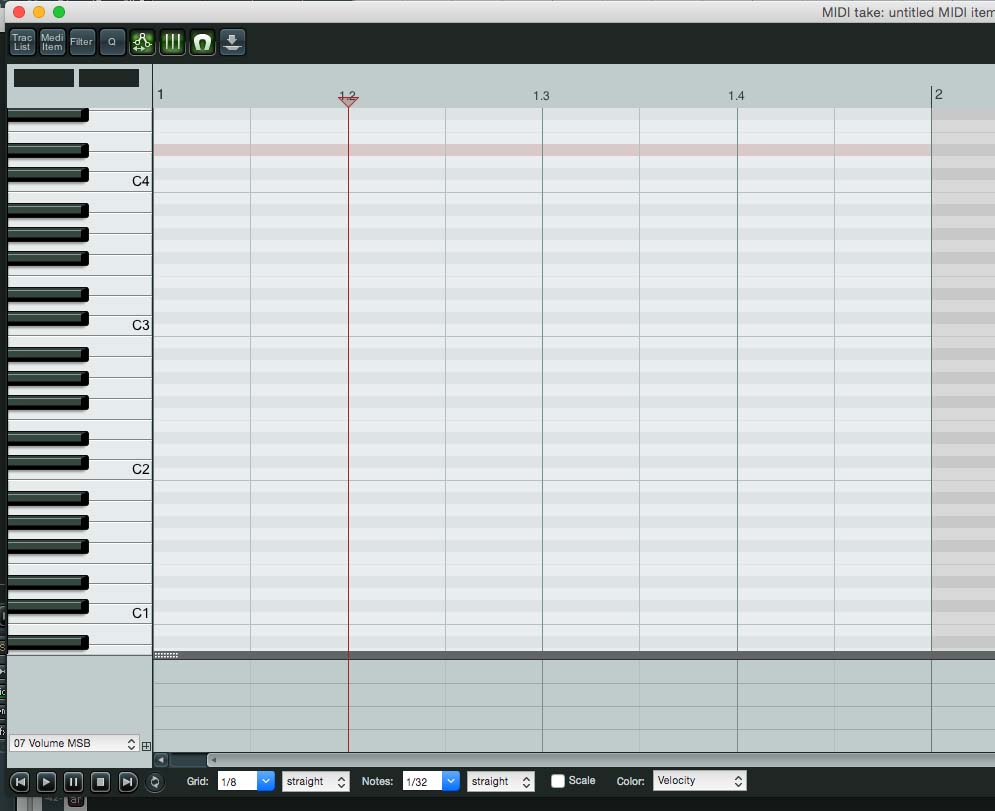
Double Click on untitled MIDI item
This is how we will trigger our drum patterns.
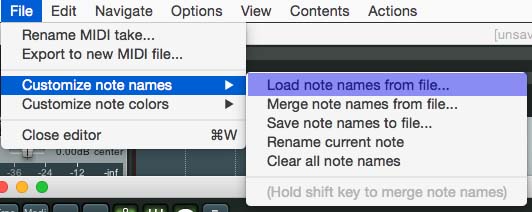
First you need to download the following file to somewhere you can remember.

Load the downloaded file into Reaper…
Now we can use the Wheel on our mouse to find our renamed notes and our midi patterns.
Go to your Track and click FX to bring up sequencer_megababy.
We are going to pin the plugin so that it stays on screen.
Watch the video:
Now double click on your mid track to open up Piano Roll
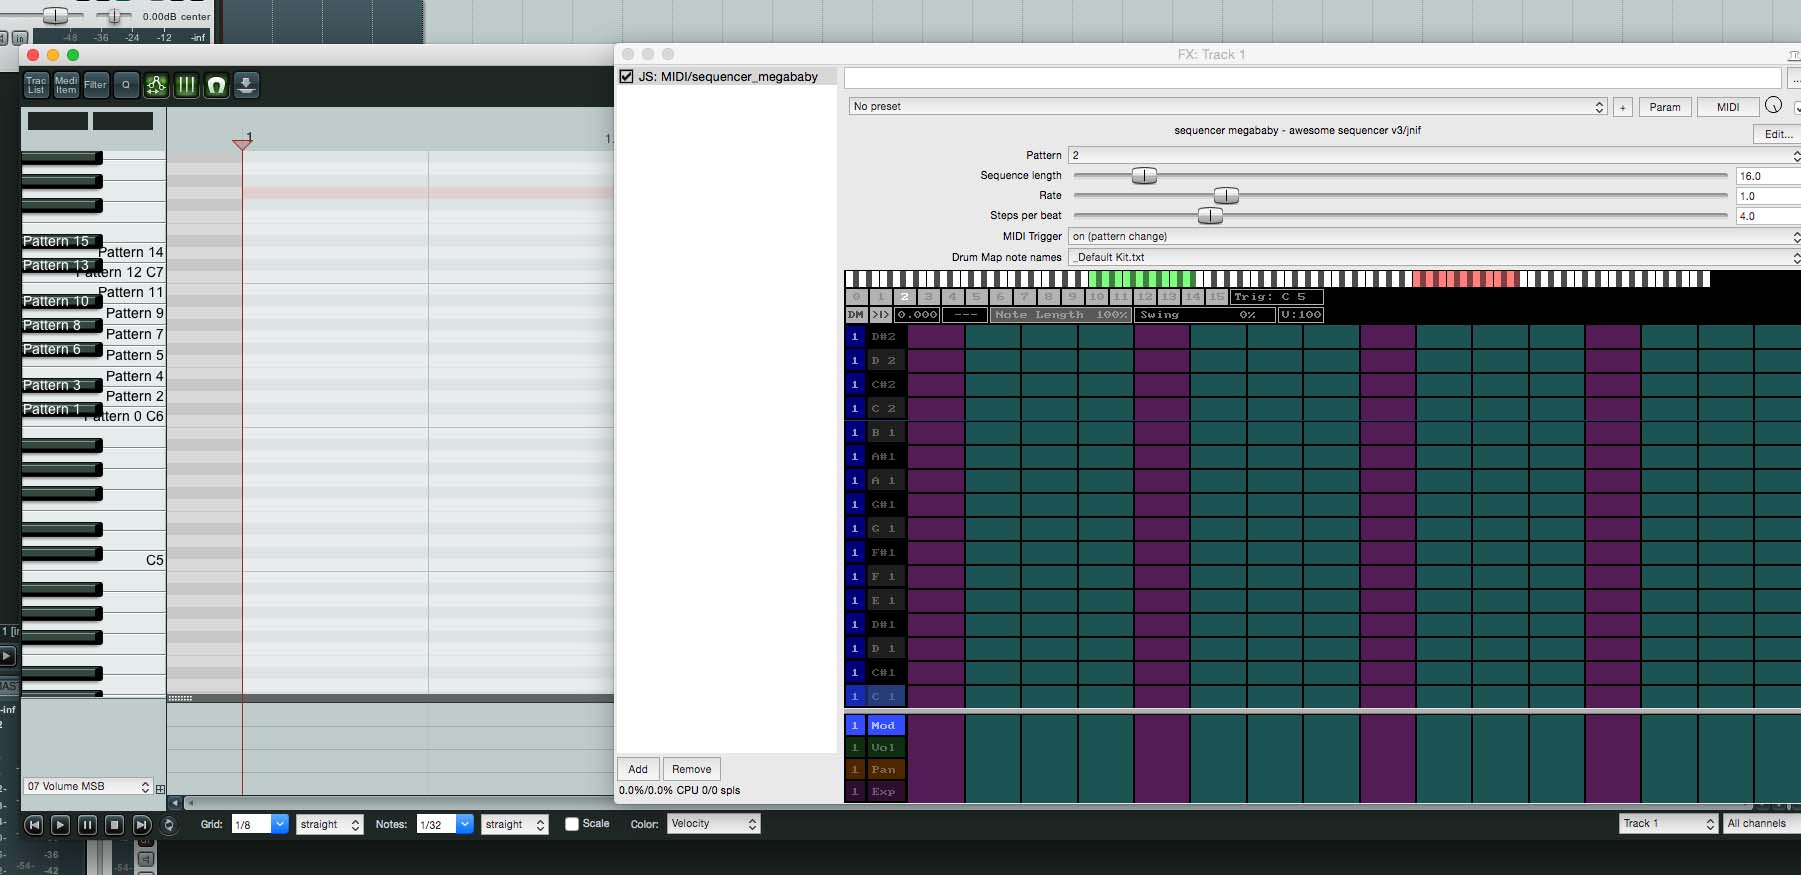
Now we want to line the two up so we can see what is happening…
See image below…
You should see on the piano roll Patterns 0 to 15 written on the piano keys.
As you press these patterns will change in sequencer_megababy.
Video:
Now by drawing in a midi event in our piano roll we can automate this pattern change.
Close the piano roll window.
Go to your midi track…
Right Click on untitled MIDI item and Copy Items, now paste at the end, repeat four times.
See Video:
Now we’ll rename each midi item…
Repeat for all 4 midi items.
Now you should have something like this:
We will now enter pattern changes by drawing in notes for each pattern:
Double ciick pattern 0, Right Click to enter note for pattern 0 on piano roll, see video below.
Go to Reaper Main screen. Press W to go to beginning of track.
Click FX on track to bring up sequencer_baby and press play.
You should now see patterns change.
Let’s create some patterns.
First load in a Drum Instrument – for this I’m using DopeVST – you can use what you have.
Now create patterns…
And that’s it.
You can repeat the process until you use all 16 patterns if required.
1 final tip while I think on it.
You can do this.
I think that’s everything.
If you have any questions please feel free to ask via comments and I’ll see what I can do.
Midi files for triggering sequencer_megababy
Read this article on importing midi into a track…
