Sequencer Megababy Drums
Creating Drums in Reaper
For this tutorial on Sequencer Megababy Drums I will be using:
Reaper and Sequencer Megababy to create Drum loops.
Dope VST CM – Available with Computer Music Magazine. Buy a copy now and download for free plus loads of other great plugins. Link
You can buy the full version here
First things first – this is from the ground up – it is a tutorial for the absolute beginner so there maybe steps you already know – please skip sections as required.
Section 1: Set up Track and plugins
Start up Reaper:
Add a Track.
There are two ways.
Go to the menu bar and look for Track it is next to Options.
Left Click for drop down menu.
The first option is to add Insert new track and then add plugins afterwards.
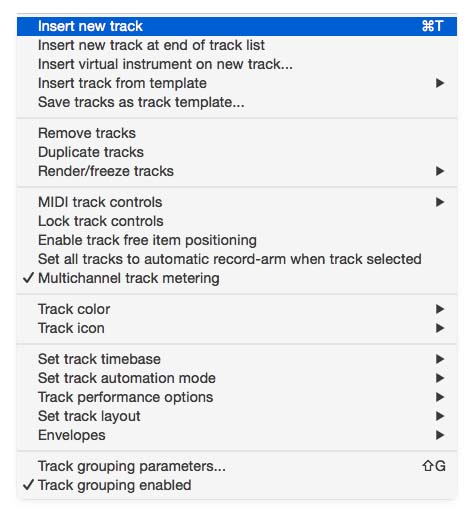
The second option is to Insert virtual instrument on new track…
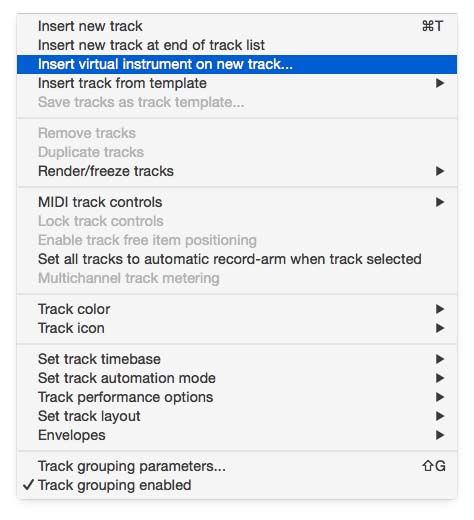
The first option is the way we will go.
Insert new track
To the left of your Reaper Screen you should now see something like this:
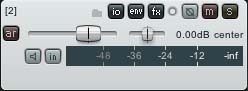
Look for the fx button.
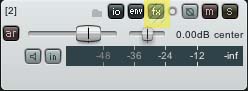
Left click fx
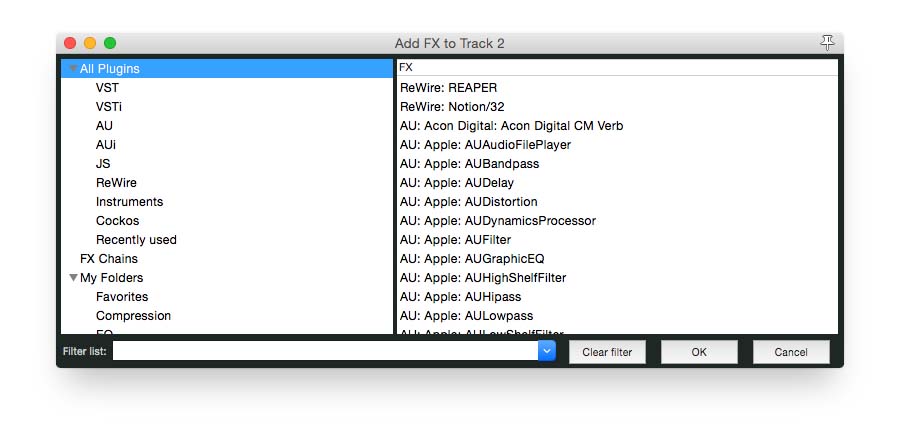
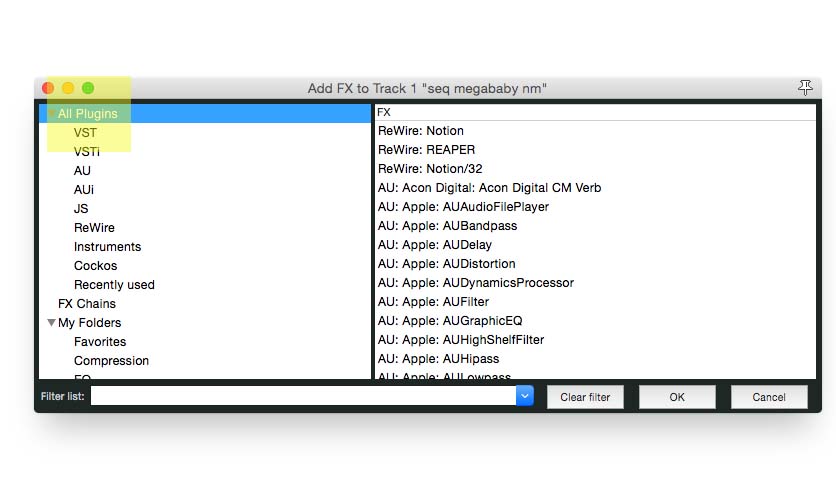
In the left side column look for JS folder – left click to highlight…
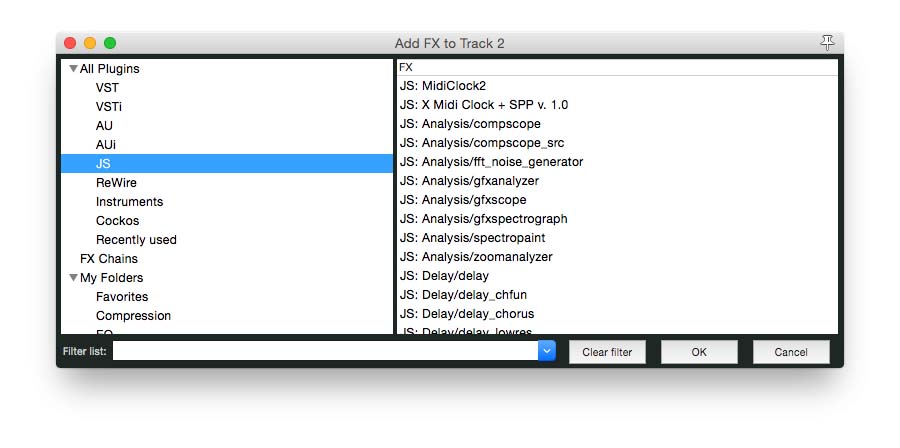
In the bottom left hand side look for filter list
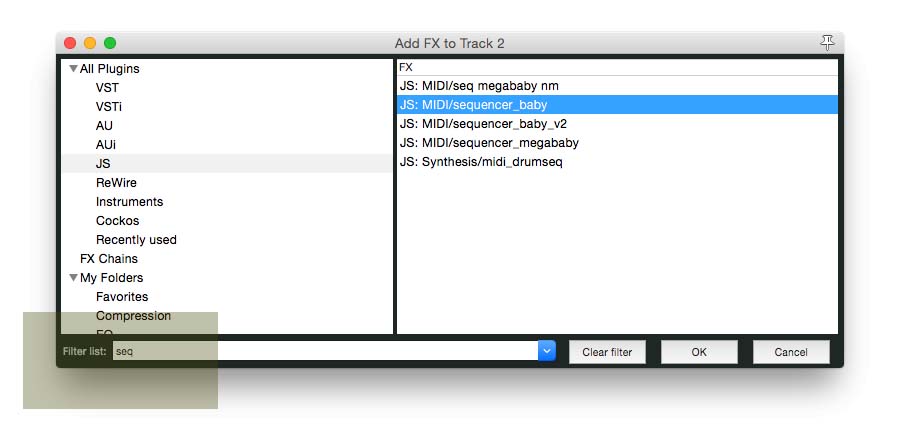
Type in seq as I have done above.
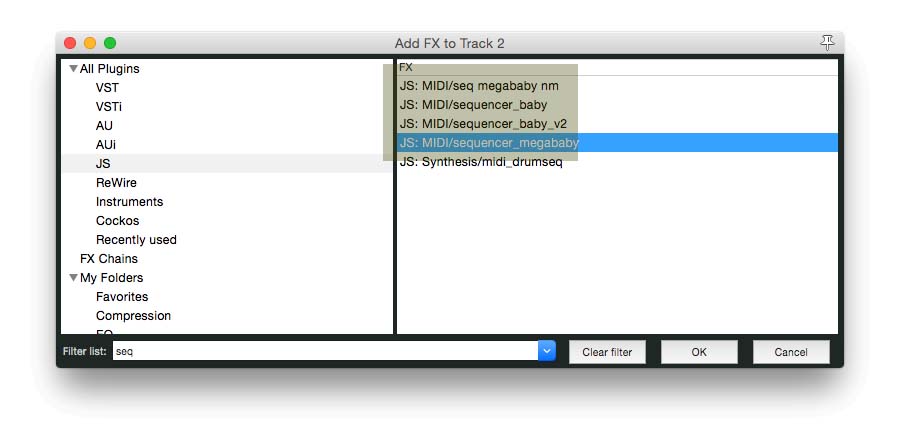
Now you should see some options in the right side box…
Highlighted in blue in the above image JS: MIDI/sequencer_megababy
This is the plugin you will use to create Drums with Sequencer Megababy.
In the image below is the version I use, is is a different skin but is fundamentally the same.
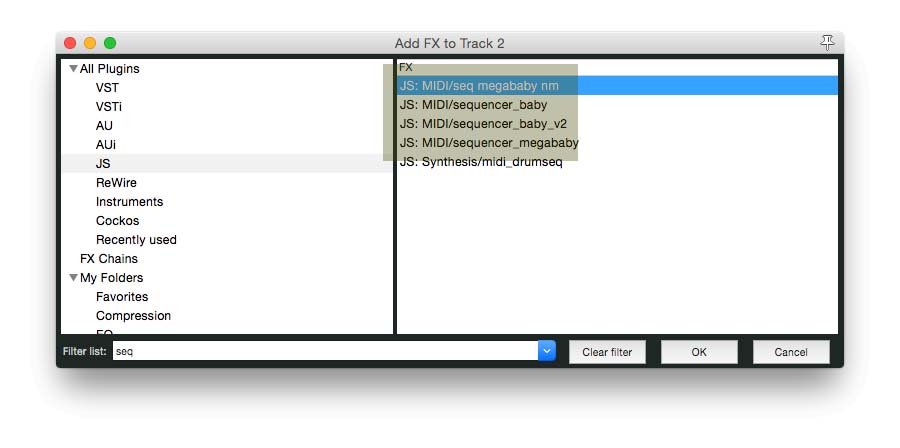
Double click – JS: MIDI/sequencer_megababy
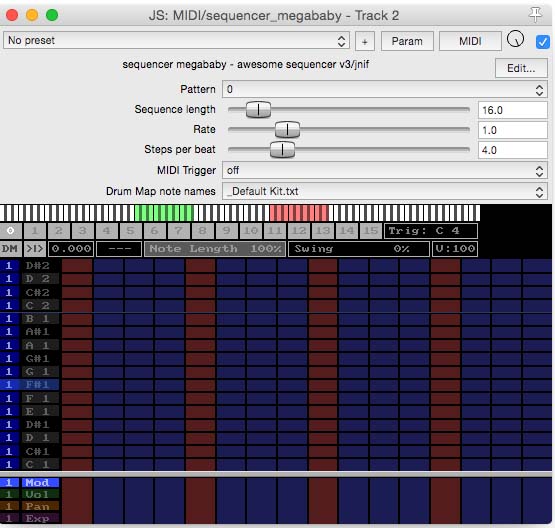
You will now see this window…
Shut this down and go back to your Track
Click fx as before…
Right Click on All Plugins
Go to Filter list
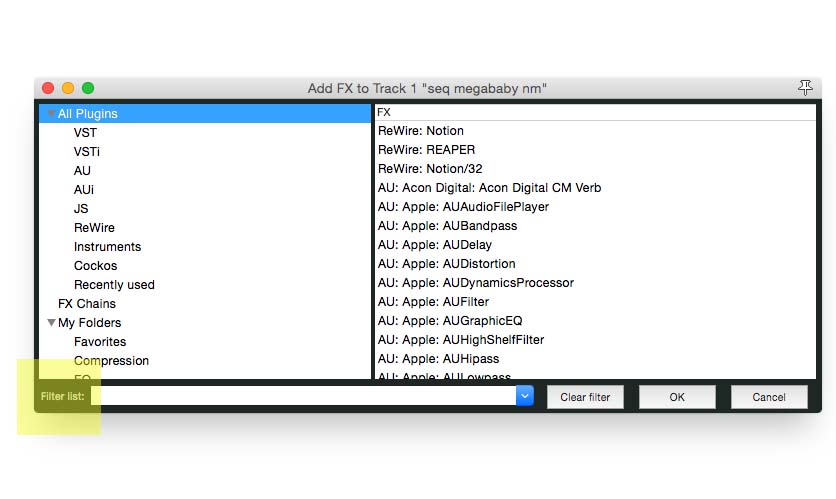 Type in the name of your VST/AU drum program – in this example DopeVST
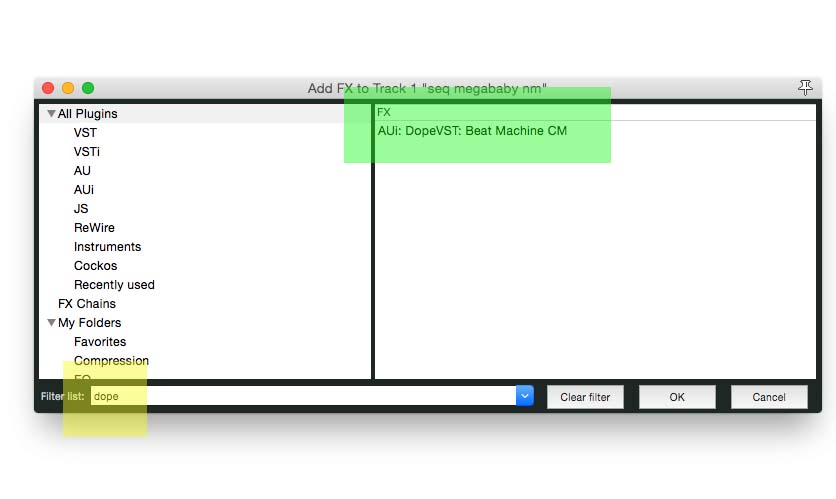
Double Click to load.
Go back to track.
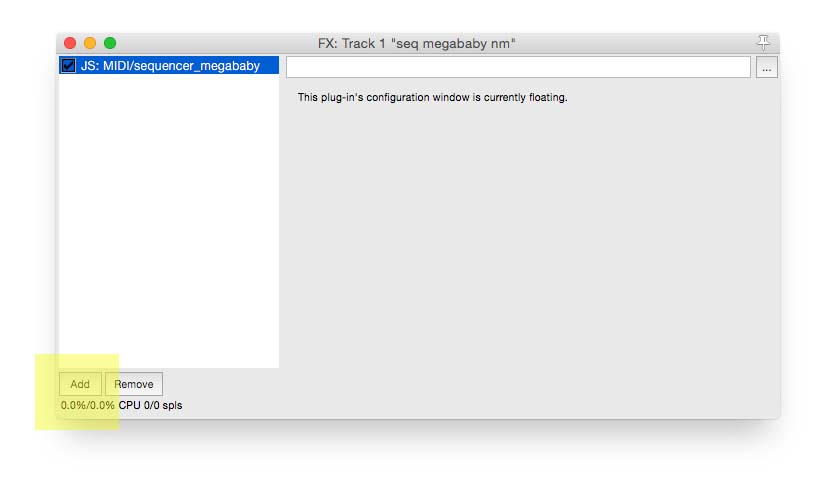
Click fx
Your plugins should look like this.

sequencer_megababy should be before DopeVST(your drum plugin) as shown above.
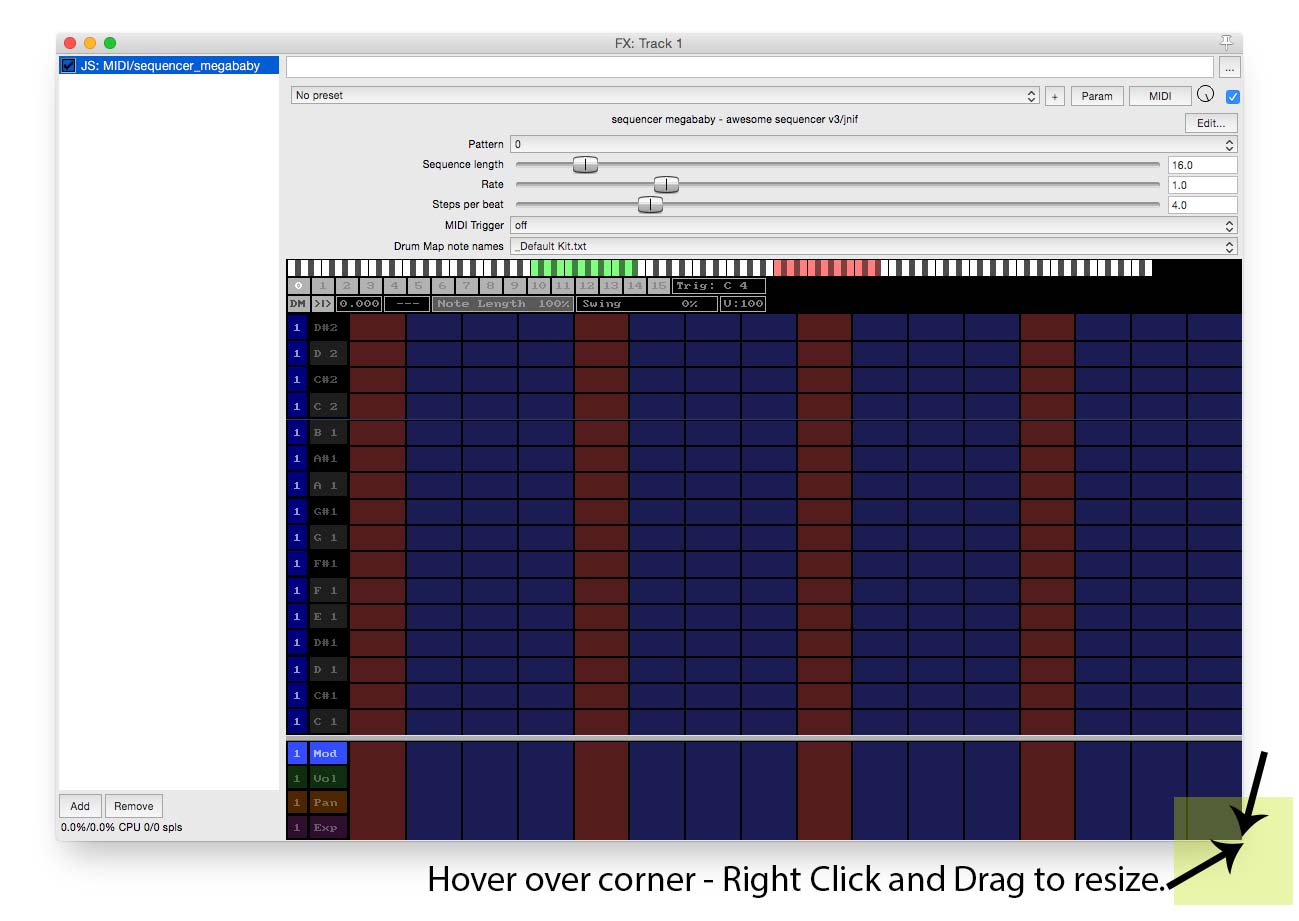
Double click on sequencer_megababy
You can make this window bigger by hovering your mouse over the bottom right hand corner and whilst holding down the left button on your mouse drag it it to a size you feel comfortable with…
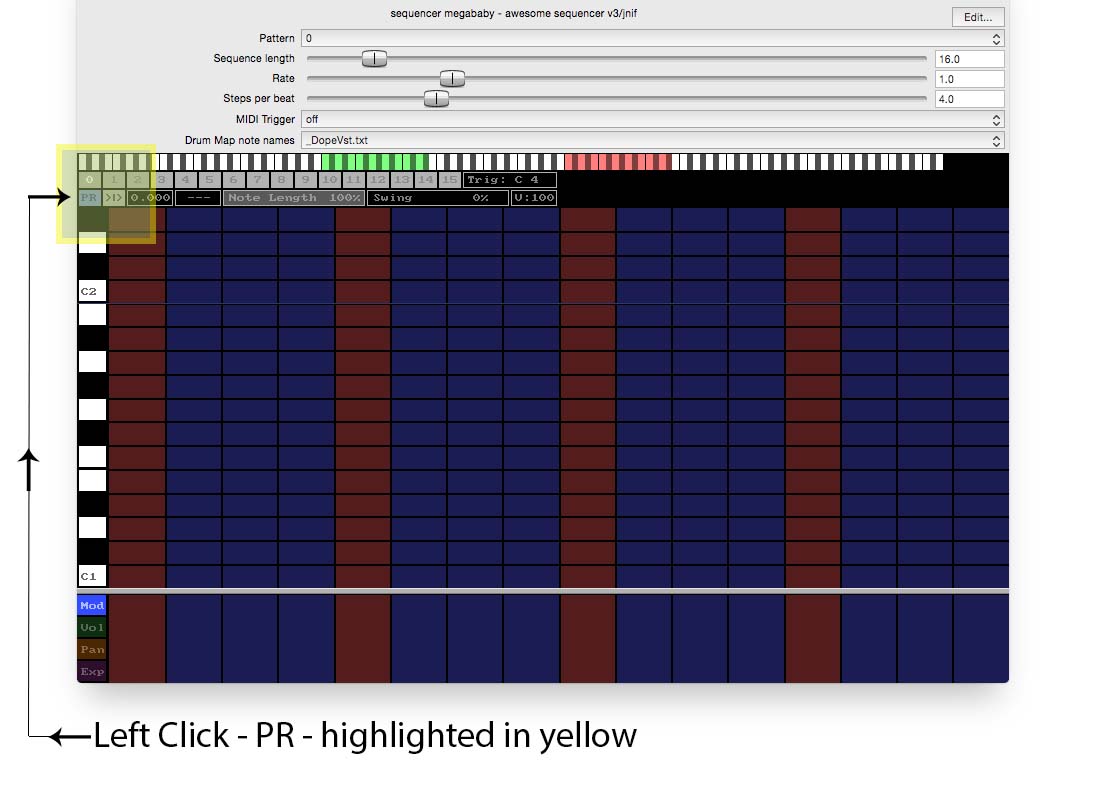
For this tutorial I am using a Drum Map note names file that I created…
It will help when showing the 4 elements of our drums. This is entirely optional.
To get it and install click DopeVST drum map

This is your screen without the Dope Drum Map installed.
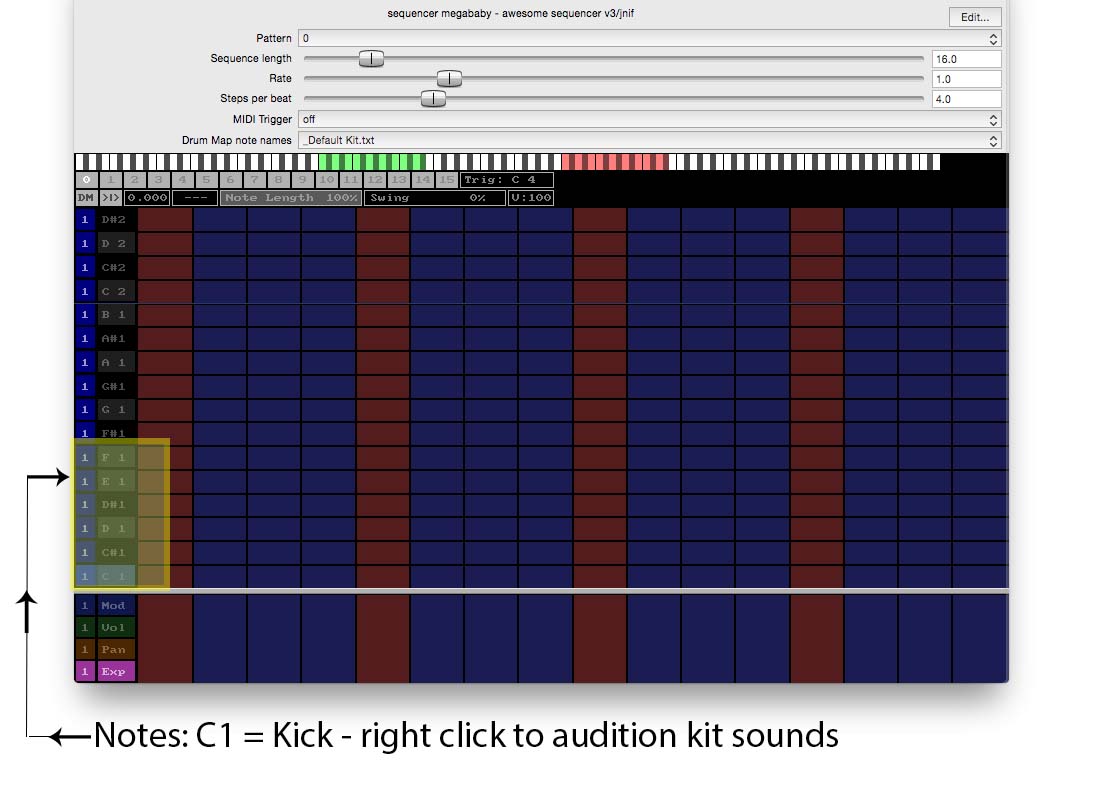
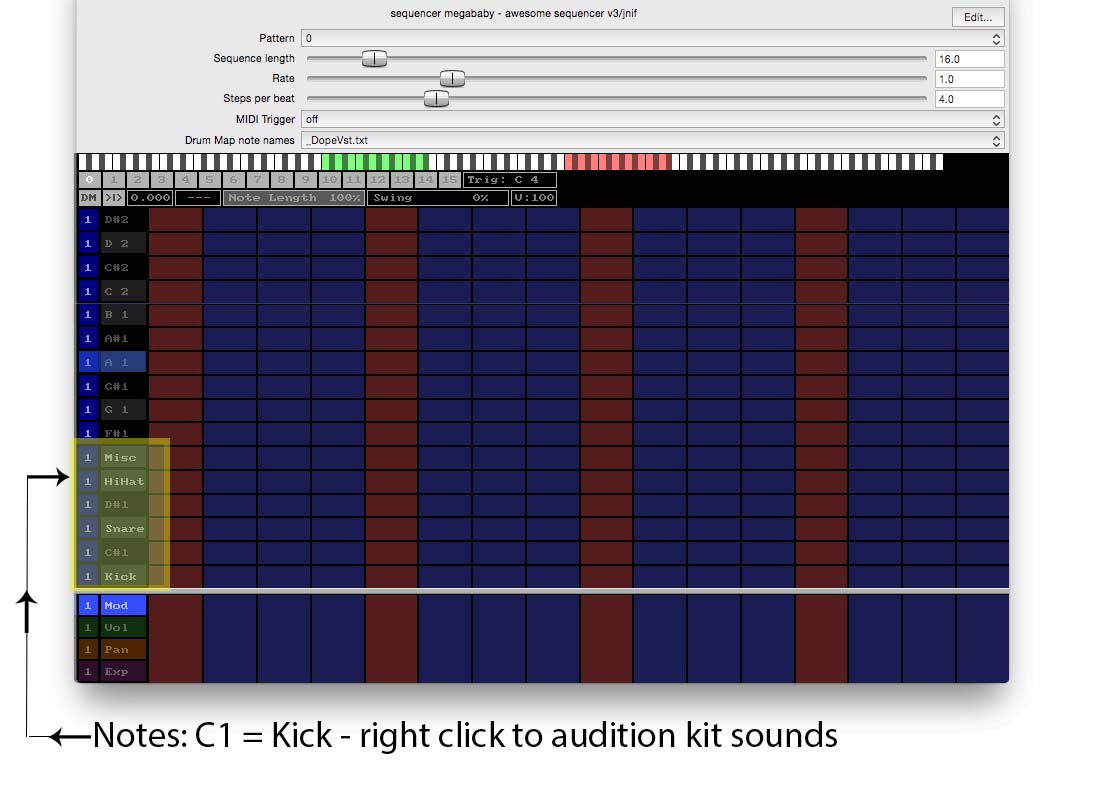
C1 = Kick
D1 = Snare
E1 = HiHat
F1 = Misc
If you’re not sure Right Click over C1 to audition the sound. You can do this for any of the notes on window…
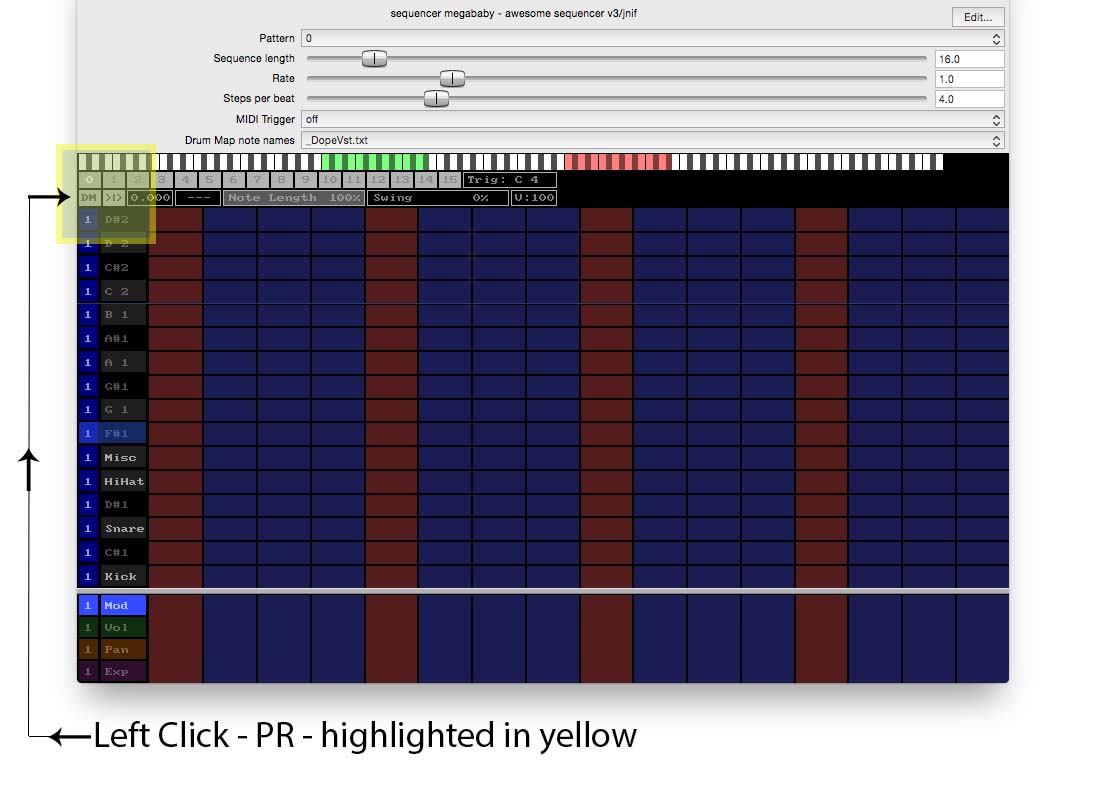
In the following example I have loaded a drum map to name the relevant instruments…
Below I have used my note map…
<———————————->
Section 2 – Programming Sequencer Megababy Drums
Sequencer megababy is divided into blocks and rows.
The rows are your kit sounds(see above)
The columns are the beats – the default setting is one bar or four beats.
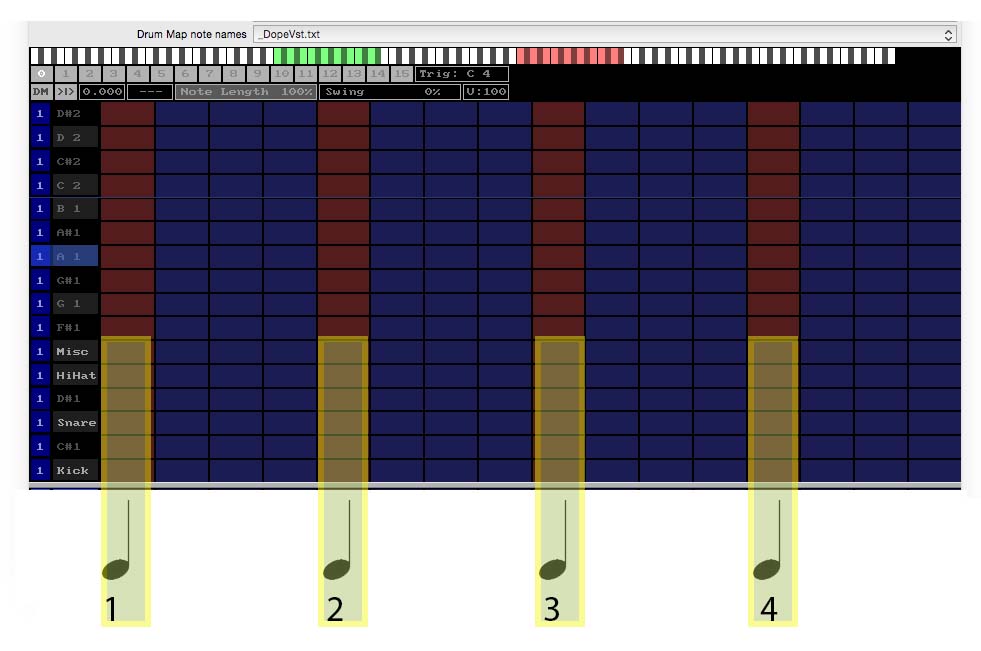
Above I have highlighted the 1st, 2nd, 3rd and 4th beat.
These are crotchet beats.
In 4/4 time we have 4 crotchet beats to the bar.
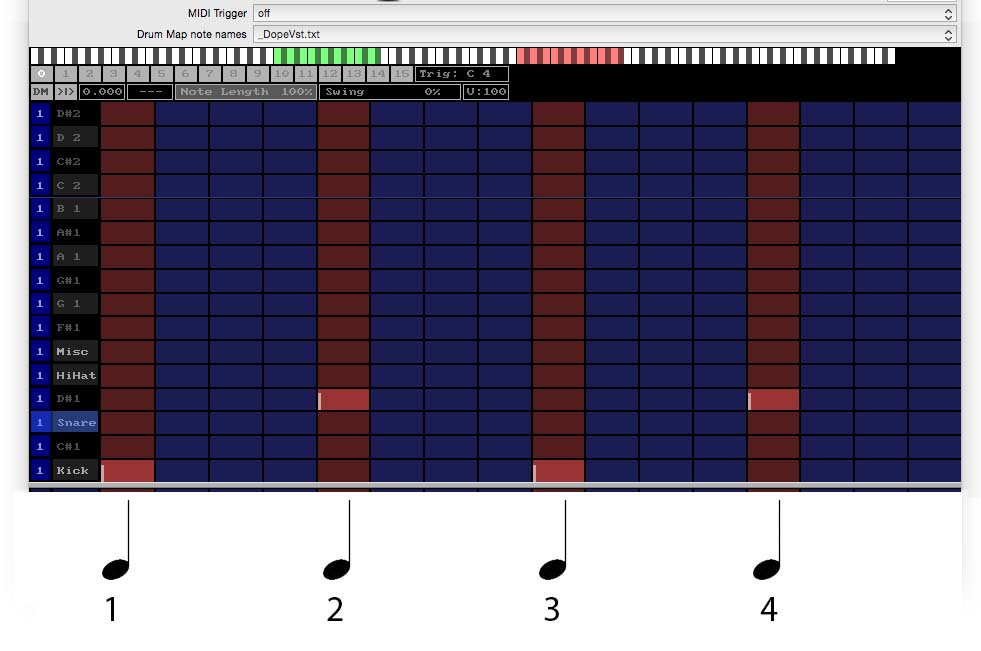
Take a look at the row where the kick is located.
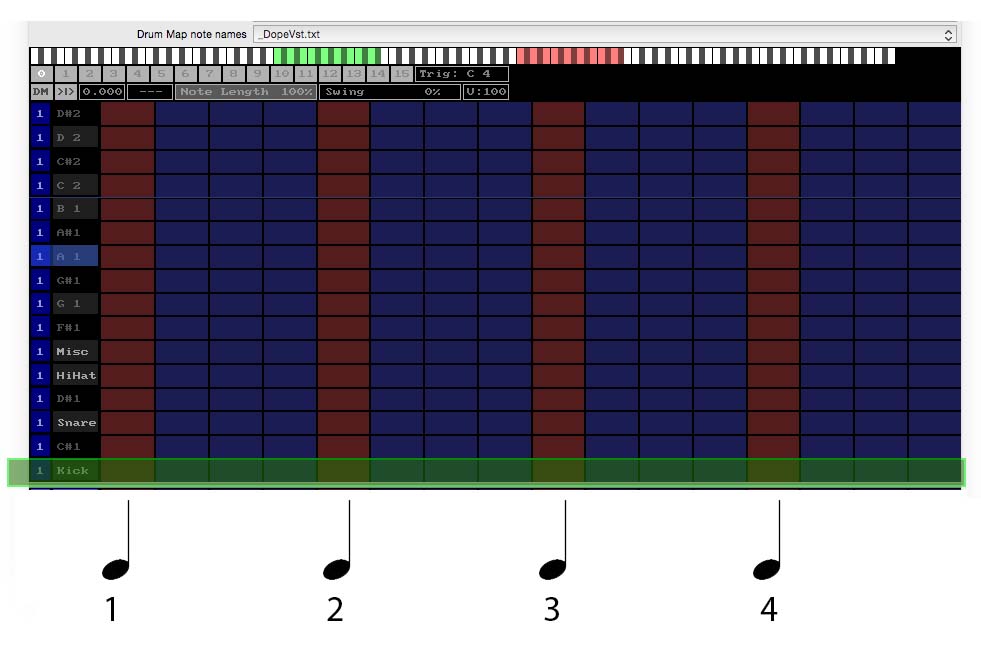
This is the C1 note.
Let’s add four kick drum beats on the 1, 2, 3 and 4th beat of our grid.
Using the left click on your mouse click on the rectangle to match row and column.
See below.
To remove use your left click again.
Press space to play back.
You should have something that sounds like the example audio below.
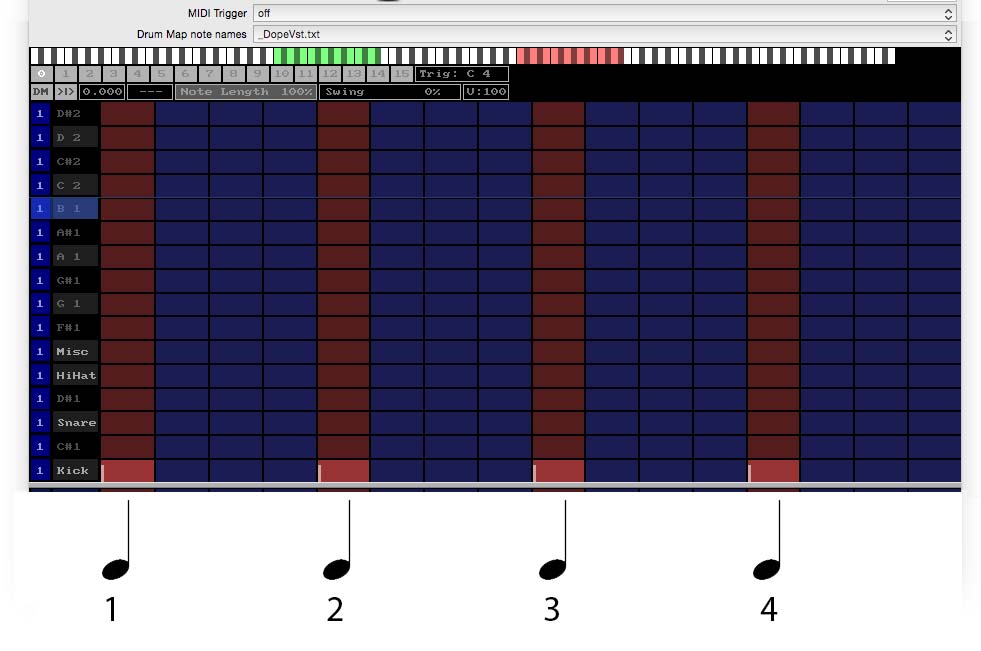
Let’s go a little further, we will now add snare.
This time we are going to have kick on the 1st and 3rd beat and snare on the 2nd and 4th beat.
First delete the kick on 2nd and 4th beat using your left click
Find the snare on the far left column. the note would be D2
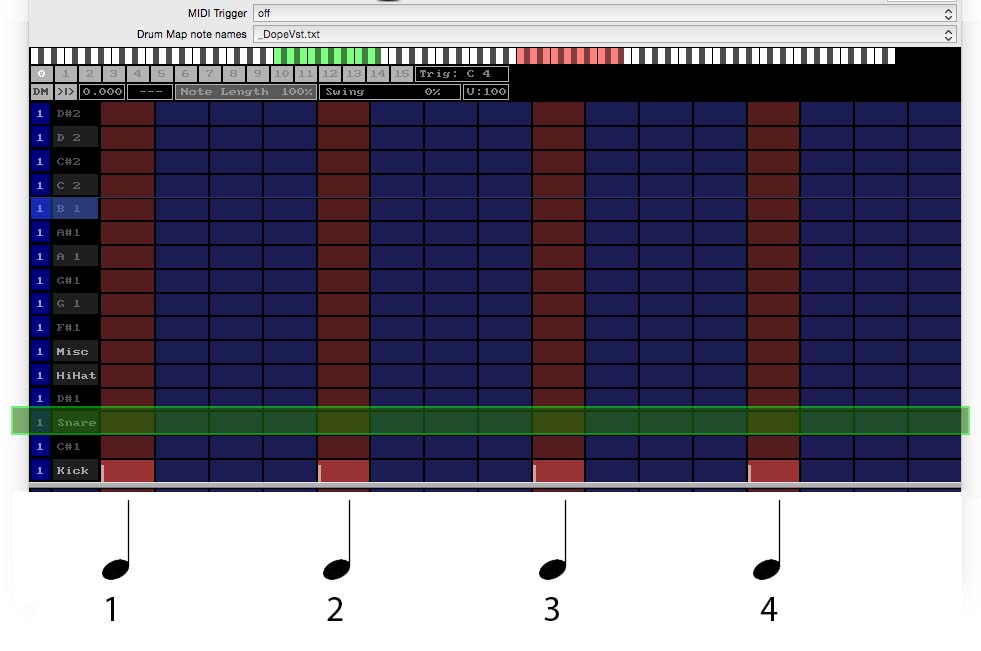
Now add a snare on the 2nd and 4th beat again using your left click
You may have to audition the sound by using your right click as it may not be D2
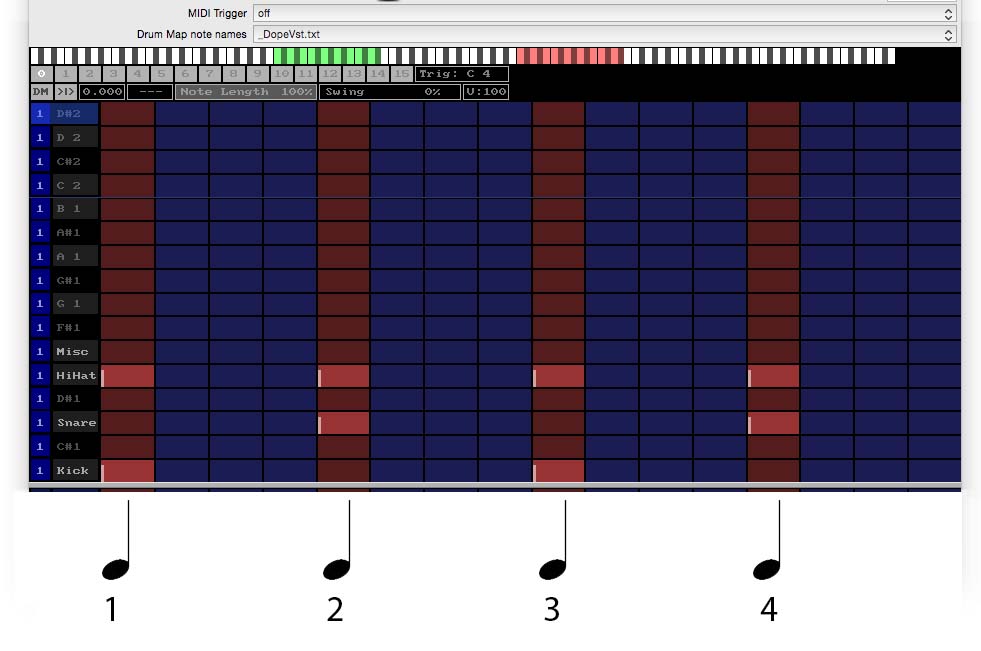
Let’s add hihat the note should be E2 again if is not then you will need to find it by auditioning notes on the far left column using right click on your mouse…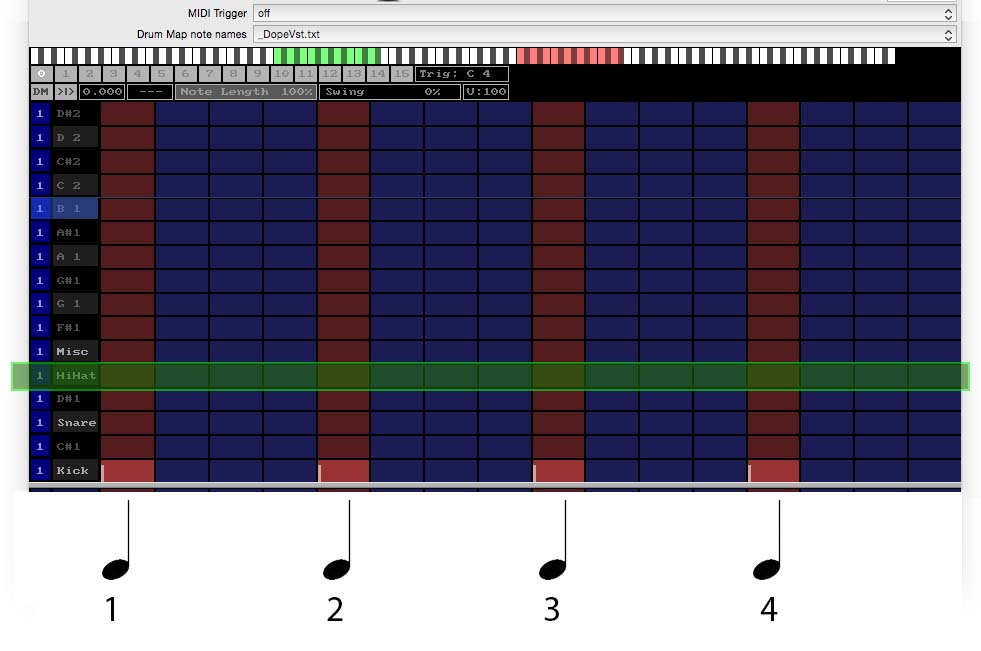
Using left click add hihats on the 1st, 2nd, 3rd and 4th beats…
Let’s get more interesting…
In-between each beat we have three blue rectangles.
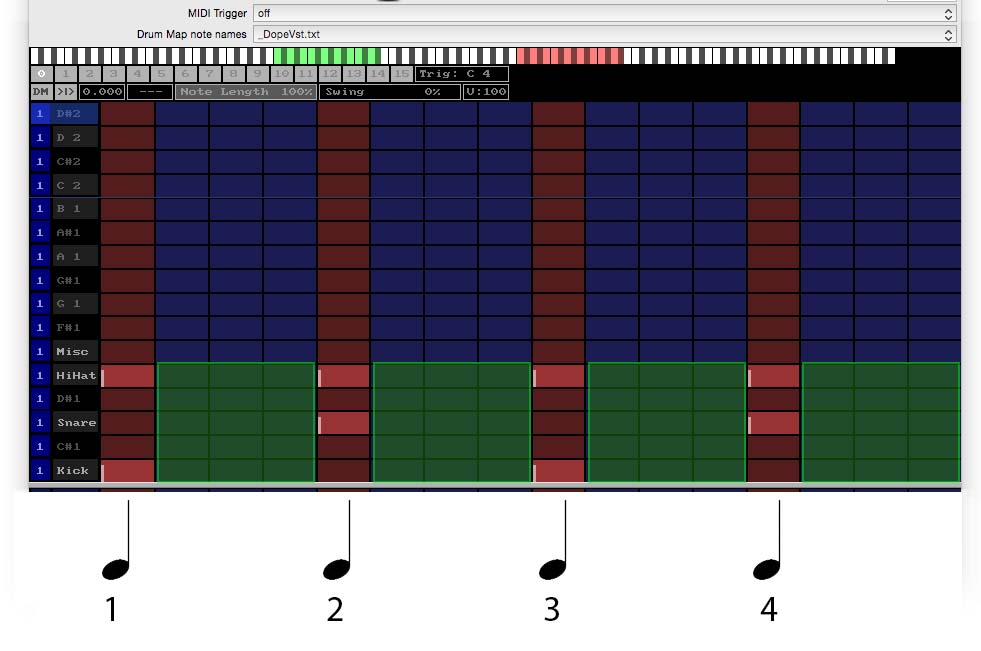
These are where we can subdivide the beat – this allows us to do an awful lot of variants. In a bar of 4 beats we can have 16 divisions.
Count all the columns, you should find that there are 16.
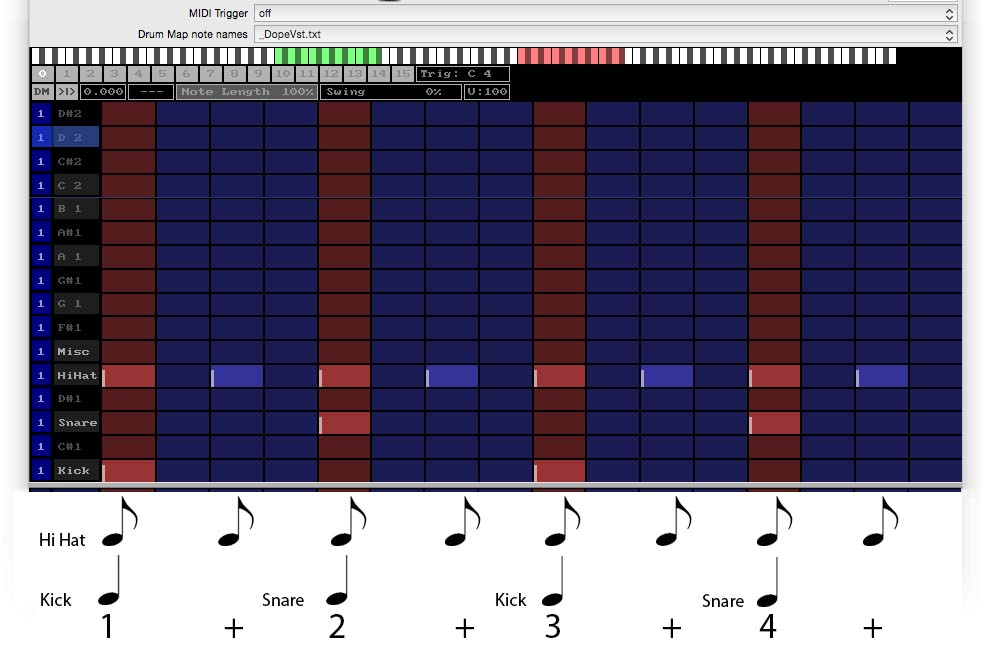
Let’s look at something called 8th – we will use the hihat for this.
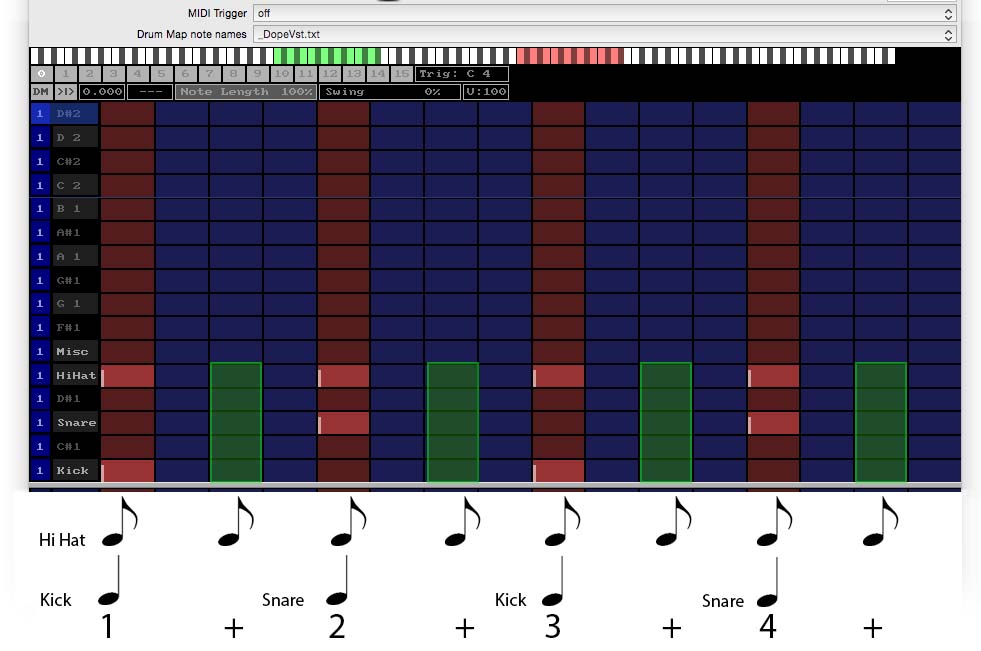
Using your left click add hihats to the columns highlighted in green…
This is the most excellent explanation I have ever followed , even a 2 year old will be able to understand this method, GREAT!